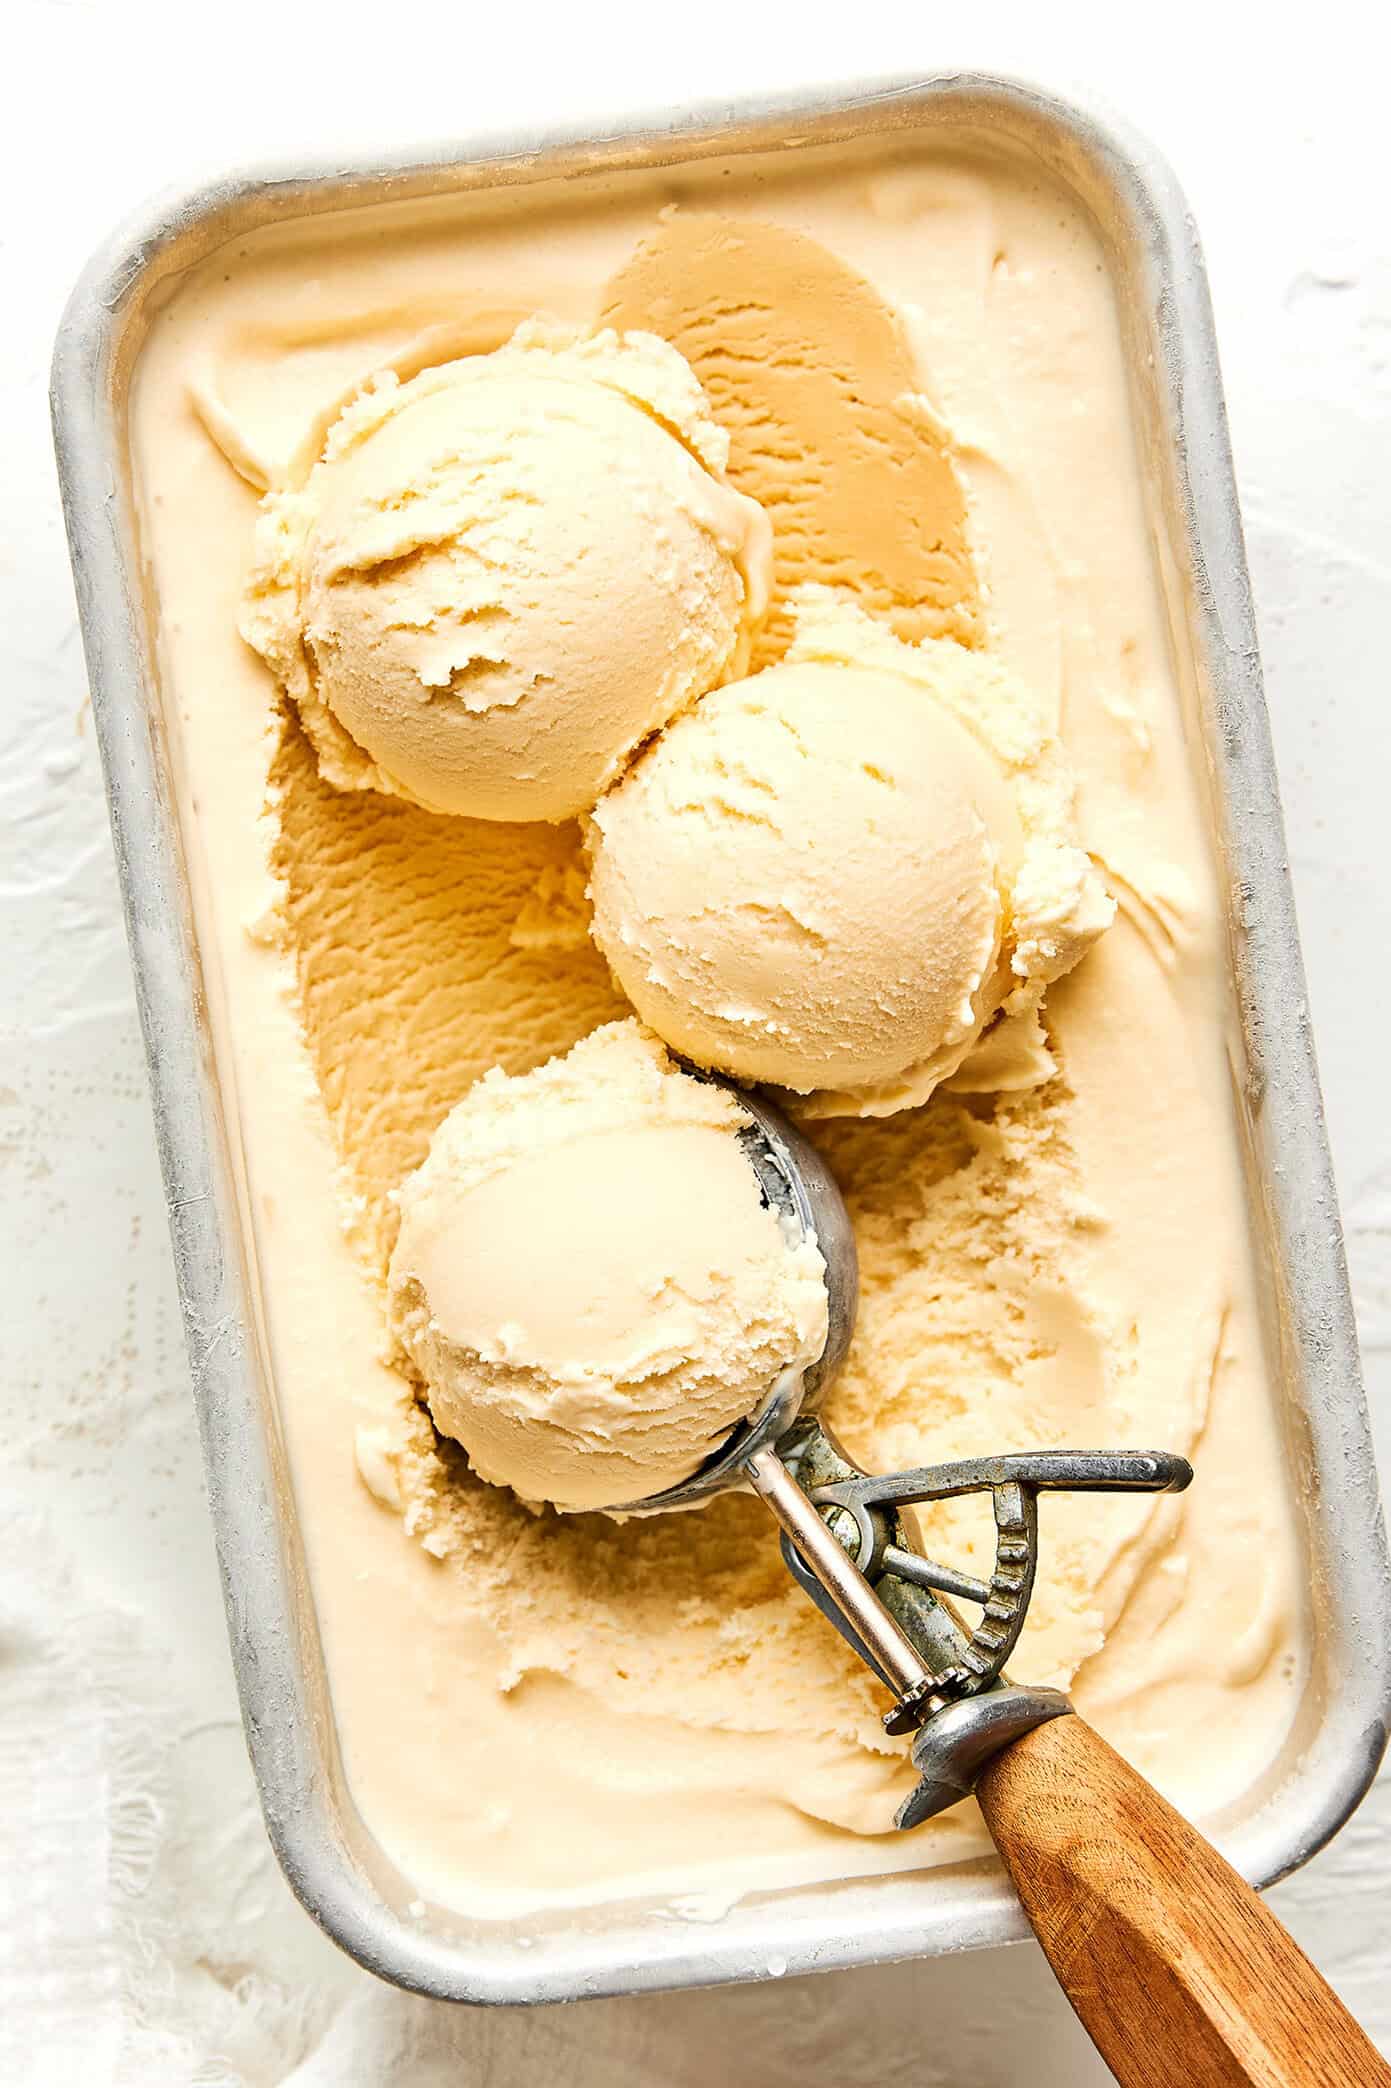
My Dad’s Famous Vanilla Ice Cream

My dad’s homemade vanilla ice cream is legendary in our family. ♡
For as long as I can remember, he has almost always had a tub of it ready to go in the freezer. And I’m pretty sure nearly everyone who has ever come over to my parents’ house has been offered a soft scoop for dessert at some point. It’s their signature move — Mom brings out some sort of baked treat, Dad casually asks who wants ice cream to go with it, everyone insists they’ll just have a little, and then the whole table ends up trying to figure out what on earth is in that ice cream. I’m telling you, it is seriously SO GOOD.
You should know that Dad’s recipe is also unapologetically old-school, made with whole milk, eggs, plenty of sugar, and an entire pint of heavy cream. (No cottage cheese allowed!) It tastes every bit as good as the hand-crank version we used to make in the garage growing up, wonderfully rich and creamy and full of classic vanilla flavor. All these years later, it’s still one of my favorite desserts, and every bite tastes like pure nostalgia to me. So dust off that ice cream maker and let’s make a batch!
Recipe Tips
Homemade ice cream is pretty forgiving, but these little details will help the custard turn out especially smooth and creamy.
- Don’t rush the tempering step. Drizzling the hot milk into the eggs slowly while whisking is what keeps you from ending up with sweet scrambled eggs. Go slower than you think you need to.
- Keep the heat gentle and never let the custard boil. Medium-low is your friend here. If the mixture boils, the eggs will curdle and there’s no coming back from that.
- Use the spoon test. The custard is done when it coats the back of a spoon and you can drag a clean line through it with your finger. It will still look fairly thin, and that’s okay.
- Always strain the custard. Even if you did everything right, straining everything through a fine mesh strainer will catch any little cooked egg bits and guarantee a perfectly smooth base.
- Chill the base completely before churning. Overnight is ideal if possible! A lukewarm base will churn up icy and take forever, so be patient here.
- Freeze your ice cream maker bowl ahead of time. If your machine uses a freezer bowl, make sure it’s been in the freezer at least 24 hours. A half-frozen bowl is the number one reason homemade ice cream turns out soupy.
- Use good vanilla. With so few ingredients, the vanilla really shines, so use pure vanilla extract (not the imitation stuff!).
Variations You Can Try
This custard base is basically a blank canvas, so feel free to have some fun with it! A few ideas:
- Add a vanilla bean. Scrape the seeds of one vanilla bean into the milk as it warms for the most gorgeous flecked, extra-fragrant ice cream.
- Stir in chocolate. Add chopped chocolate or mini chocolate chips during the last few minutes of churning.
- Swirl in caramel or fudge. Layer ribbons of salted caramel or hot fudge into the container as you transfer the churned ice cream to the freezer.
- Make it boozy. Stir 1 to 2 tablespoons of bourbon or rum into the chilled base before churning. Bonus: the alcohol also keeps the ice cream softer and more scoopable.
- Add crunch. Fold in crushed cookies, toasted pecans or waffle cone pieces at the end of churning.
- Swap in brown sugar. Use half brown sugar in place of the granulated sugar for a subtle caramel-y depth.
- Fold in berries. Toss chopped fresh strawberries or raspberries with a spoonful of sugar, let them sit for 15 minutes, then fold them in at the very end of churning.

FAQ
An ice cream maker will give you the creamiest results, but if you don’t have one, you can pour the chilled base into a shallow pan, freeze it, and stir vigorously with a fork every 30 minutes for about 3 hours. The texture will be a little icier, but still delicious.
Absolutely. In fact, I think it works best that way! Prepare the custard, cover it, and refrigerate it overnight. Churn it the next day once it is completely cold.
Homemade ice cream does not contain the same stabilizers and softening agents as many store-bought varieties, so it naturally freezes more firmly. Just let the container sit on the counter for 5 to 10 minutes before scooping and you’ll be good to go!
Yes, as long as your ice cream maker is large enough. Otherwise, churn it in two batches and keep the second half of the base chilled in the fridge while the first churns.

Dad’s Vanilla Ice Cream
Equipment
- Ice cream machine
Ingredients
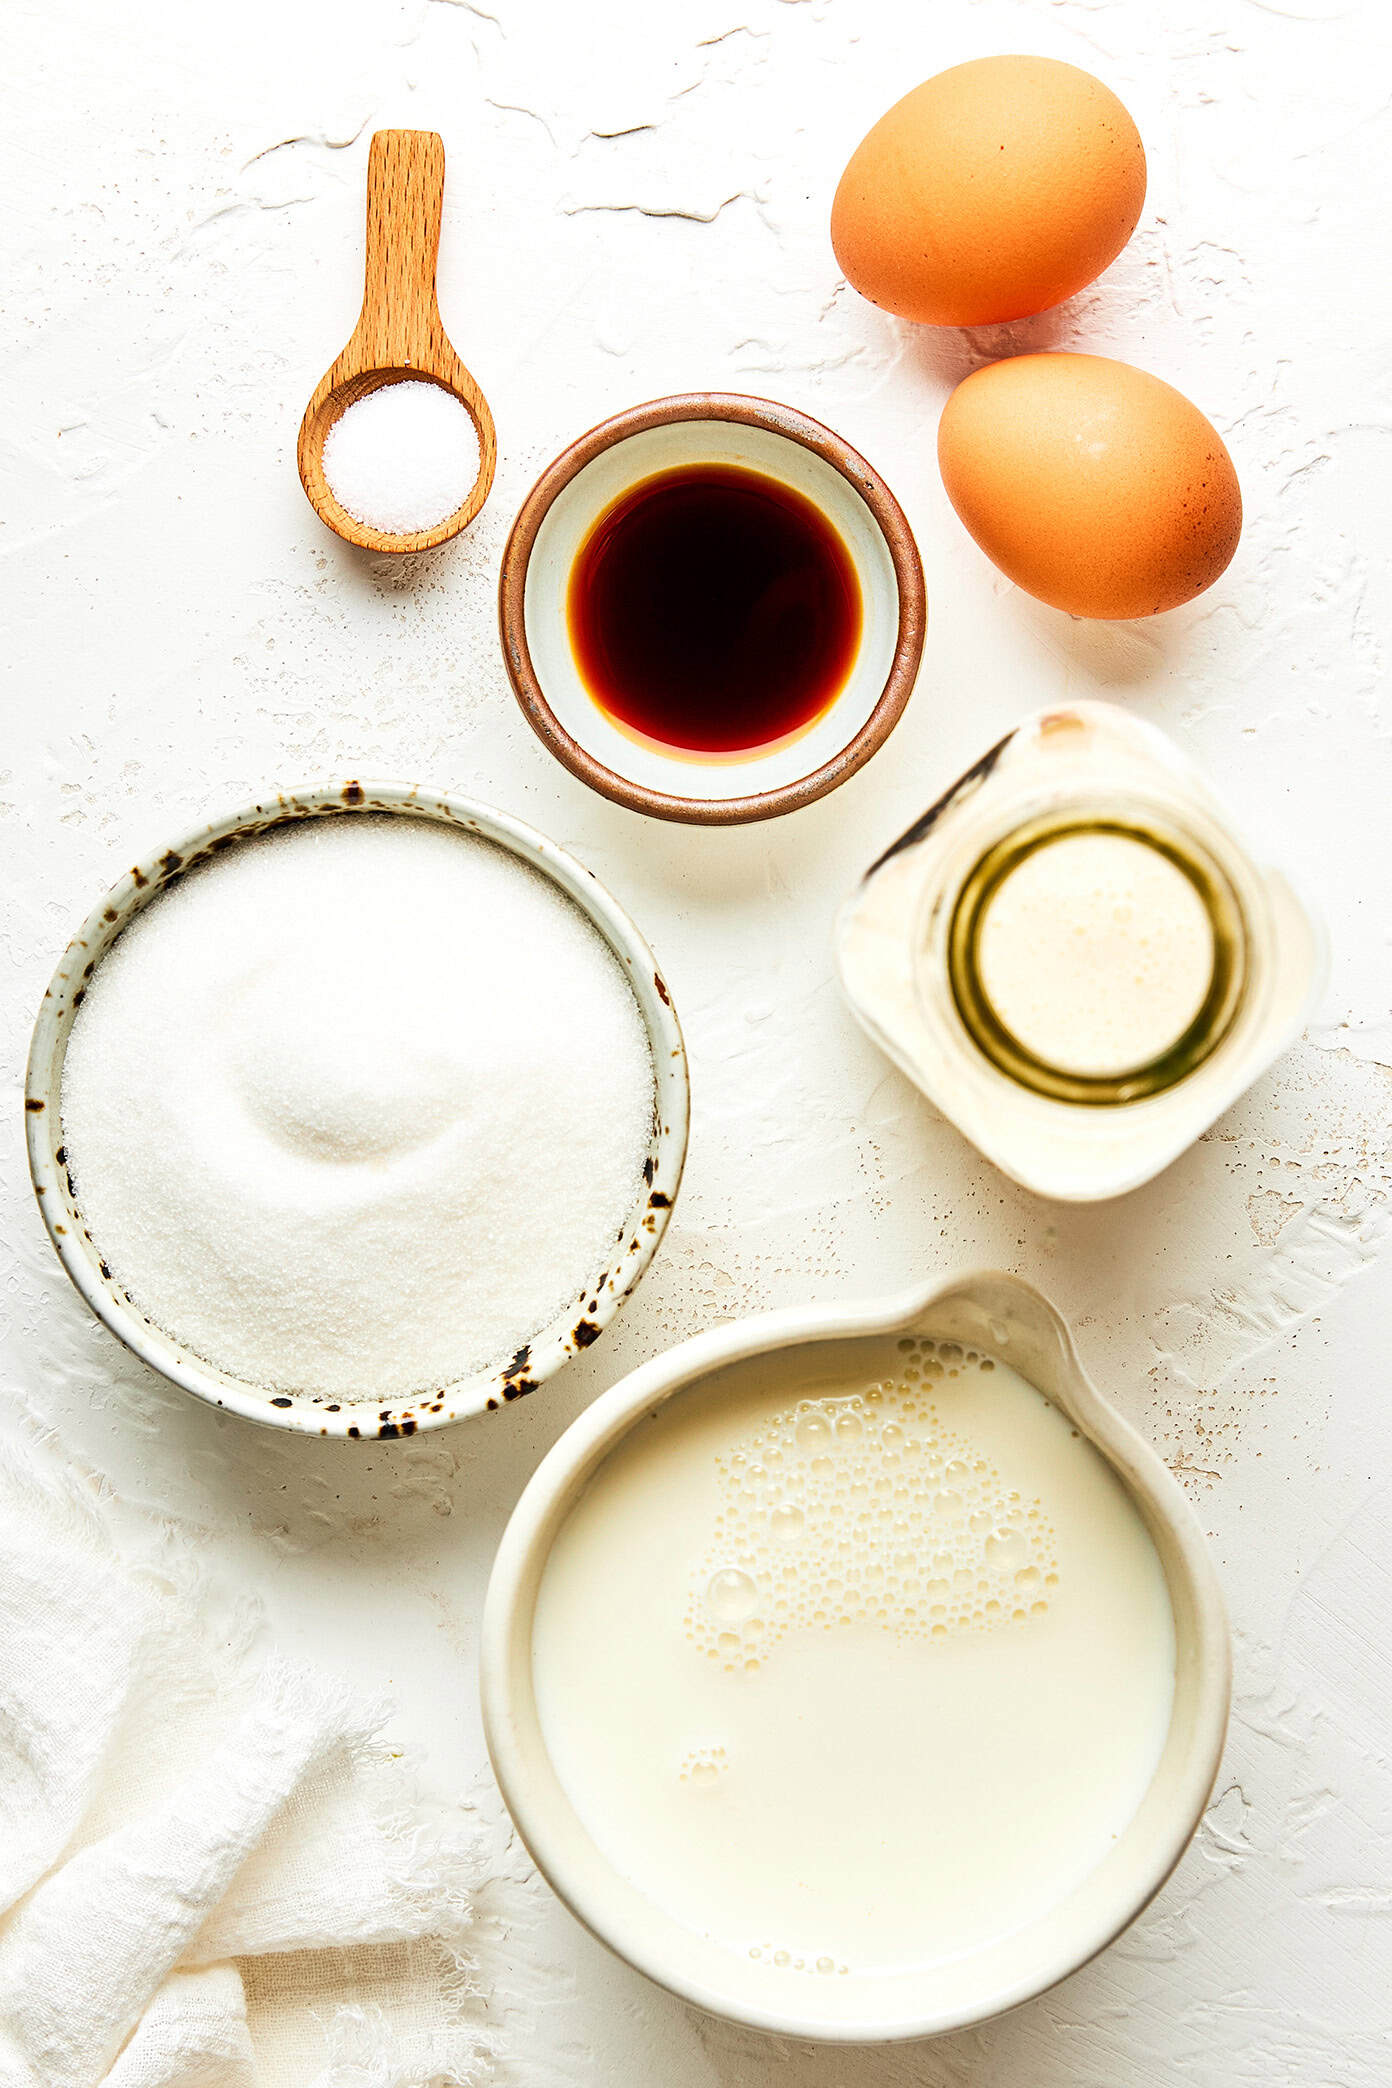
- 1 cup granulated sugar
- 2 large eggs
- ½ teaspoon fine sea salt
- 2 cups whole milk
- 1 pint heavy whipping cream
- 2 teaspoons vanilla extract
Instructions
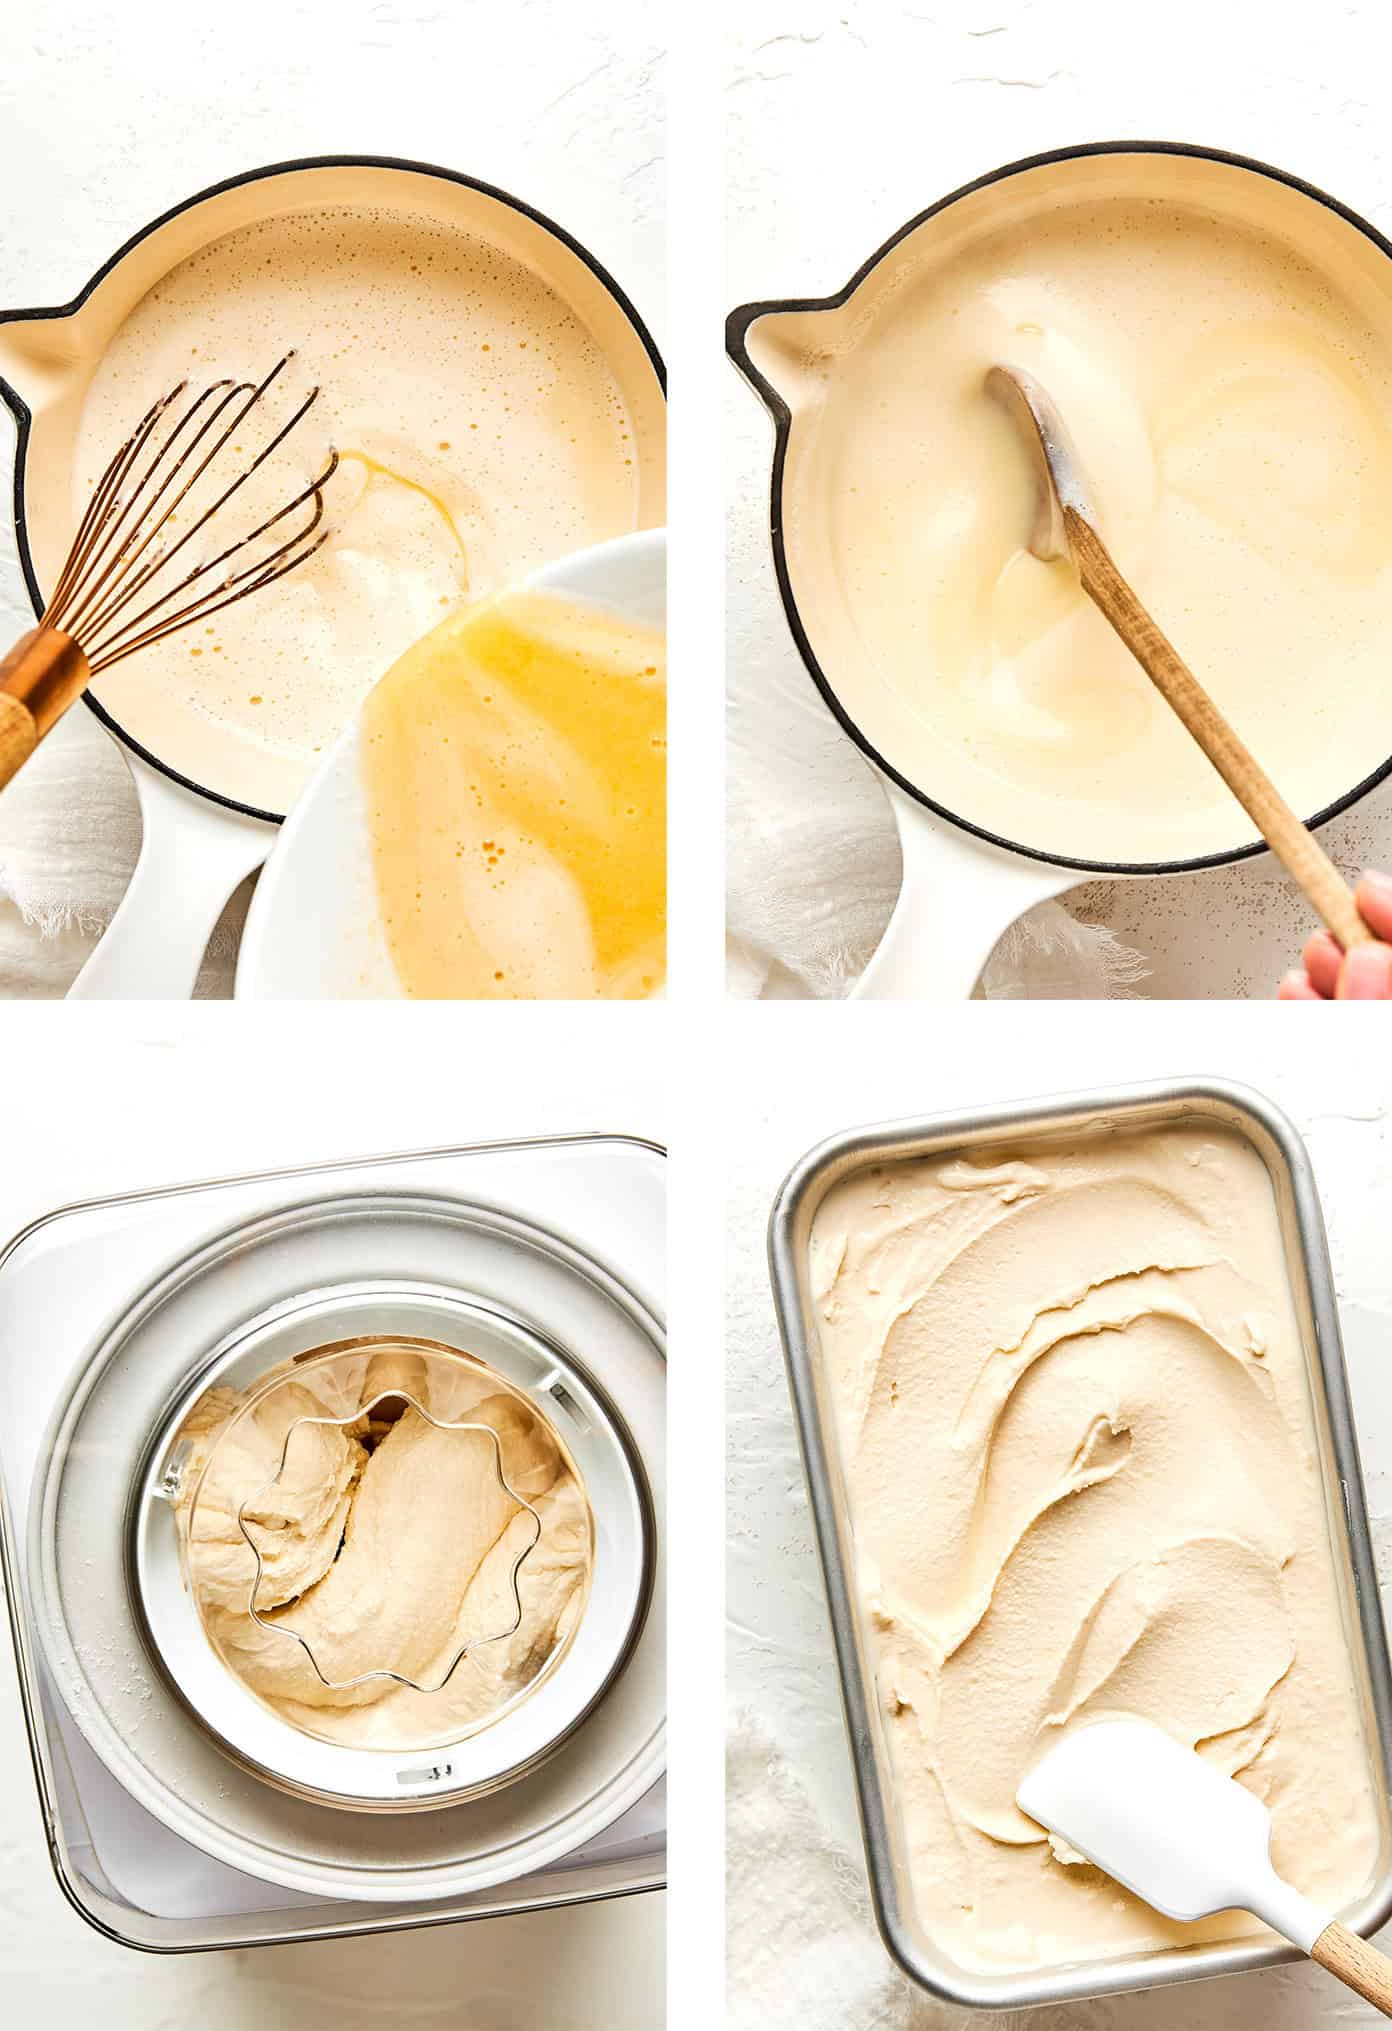
- Whisk the eggs, sugar and salt. In a medium mixing bowl, whisk together the sugar, eggs and fine sea salt until smooth and slightly pale.
- Warm the milk. In a medium saucepan, heat the whole milk over medium heat until it is steaming but not boiling.
- Temper the eggs. While whisking constantly, slowly drizzle about 1 cup of the hot milk into the egg mixture until combined. Then slowly pour the tempered egg mixture back into the saucepan with the remaining milk, whisking constantly.
- Cook the custard. Continue cooking the mixture over medium-low heat, stirring often, until it thickens slightly and coats the back of a spoon, about 5 to 8 minutes. Do not let it boil.
- Add the cream and vanilla. Remove the pan from the heat. Stir in the heavy whipping cream and vanilla extract until combined.
- Chill. Pour the mixture through a fine-mesh strainer into a clean bowl or container. Cover and refrigerate until completely chilled, at least 4 hours or overnight.
- Churn. Churn the ice cream in an ice cream maker according to the manufacturer’s instructions, until thick and creamy.
- Freeze. Transfer the ice cream to a freezer-safe container, cover, and freeze for at least 2 to 4 hours, or until firm enough to scoop. Serve and enjoy!!
 Did you make this?Let me know how it turned out in the comments below!




0 Comments