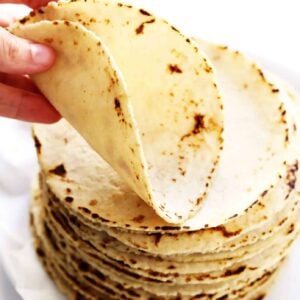
This homemade corn tortilla recipe is easy to make with 3 ingredients and yields the most delicious, soft, foldable, and naturally gluten-free corn tortillas.
After learning how to make homemade flour tortillas earlier this month, it’s time to learn how to make their famous (and naturally gluten-free!) counterparts…
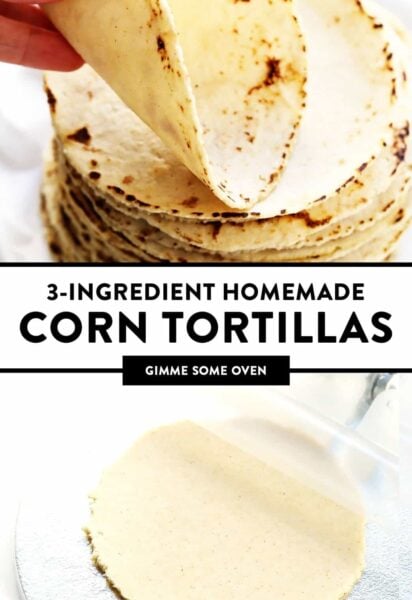
…homemade corn tortillas! ♡
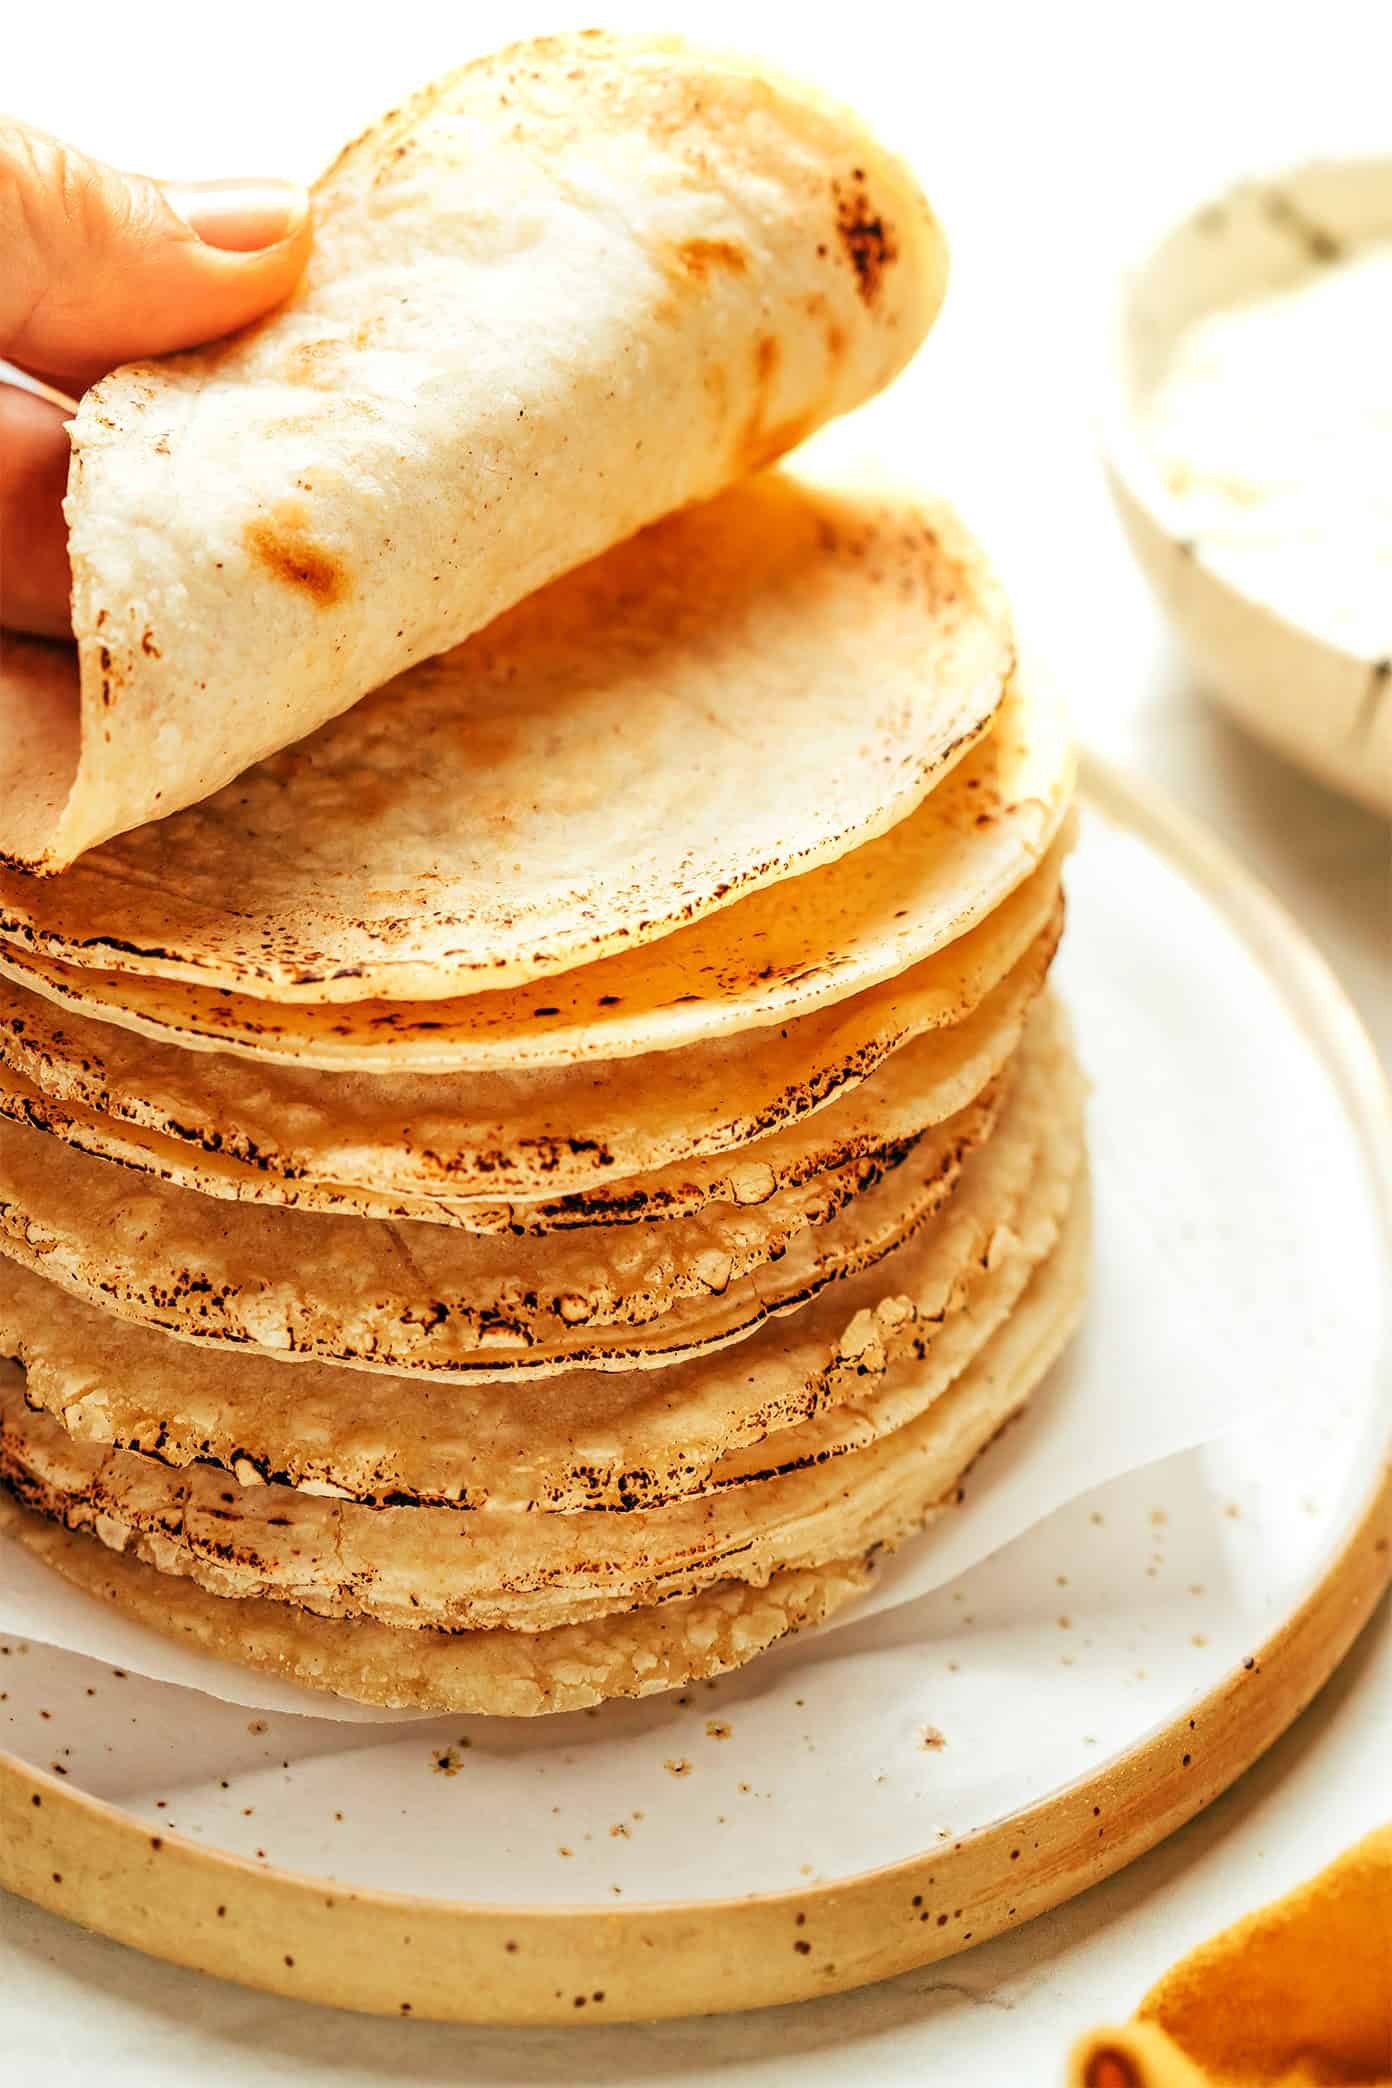
These traditional Mexican-style corn tortillas are easy to make with just 3 ingredients, they are naturally gluten-free, and full of the yummiest toasted corn flavors. But in my opinion, the best thing about fresh homemade corn tortillas is that they are legit-easy to roll and fold!! No cracking, breaking, or complicated re-warming instructions required here. These freshly-made corn tortillas are soft and pliable and will fold up beautifully into your favorite tacos or enchiladas. Or, of course, you can fry any of the leftovers to make tortilla chips, chilaquiles, nachos and more.
So today, I’m sharing my go-to recipe for making classic corn tortillas, plus all of my best tips and shortcuts to make the process a bit easier and more foolproof. I’ve also included an option below for how to roll out these guys out without a tortilla press, if you do not have one. But if you plan to make them regularly, a tortilla press is incredibly helpful with corn tortillas and worth the investment.
Alright, well gather up your three ingredients and let’s make some homemade tortillas together!
Corn Tortillas Recipe | 1-Minute Video
Homemade Corn Tortilla Ingredients
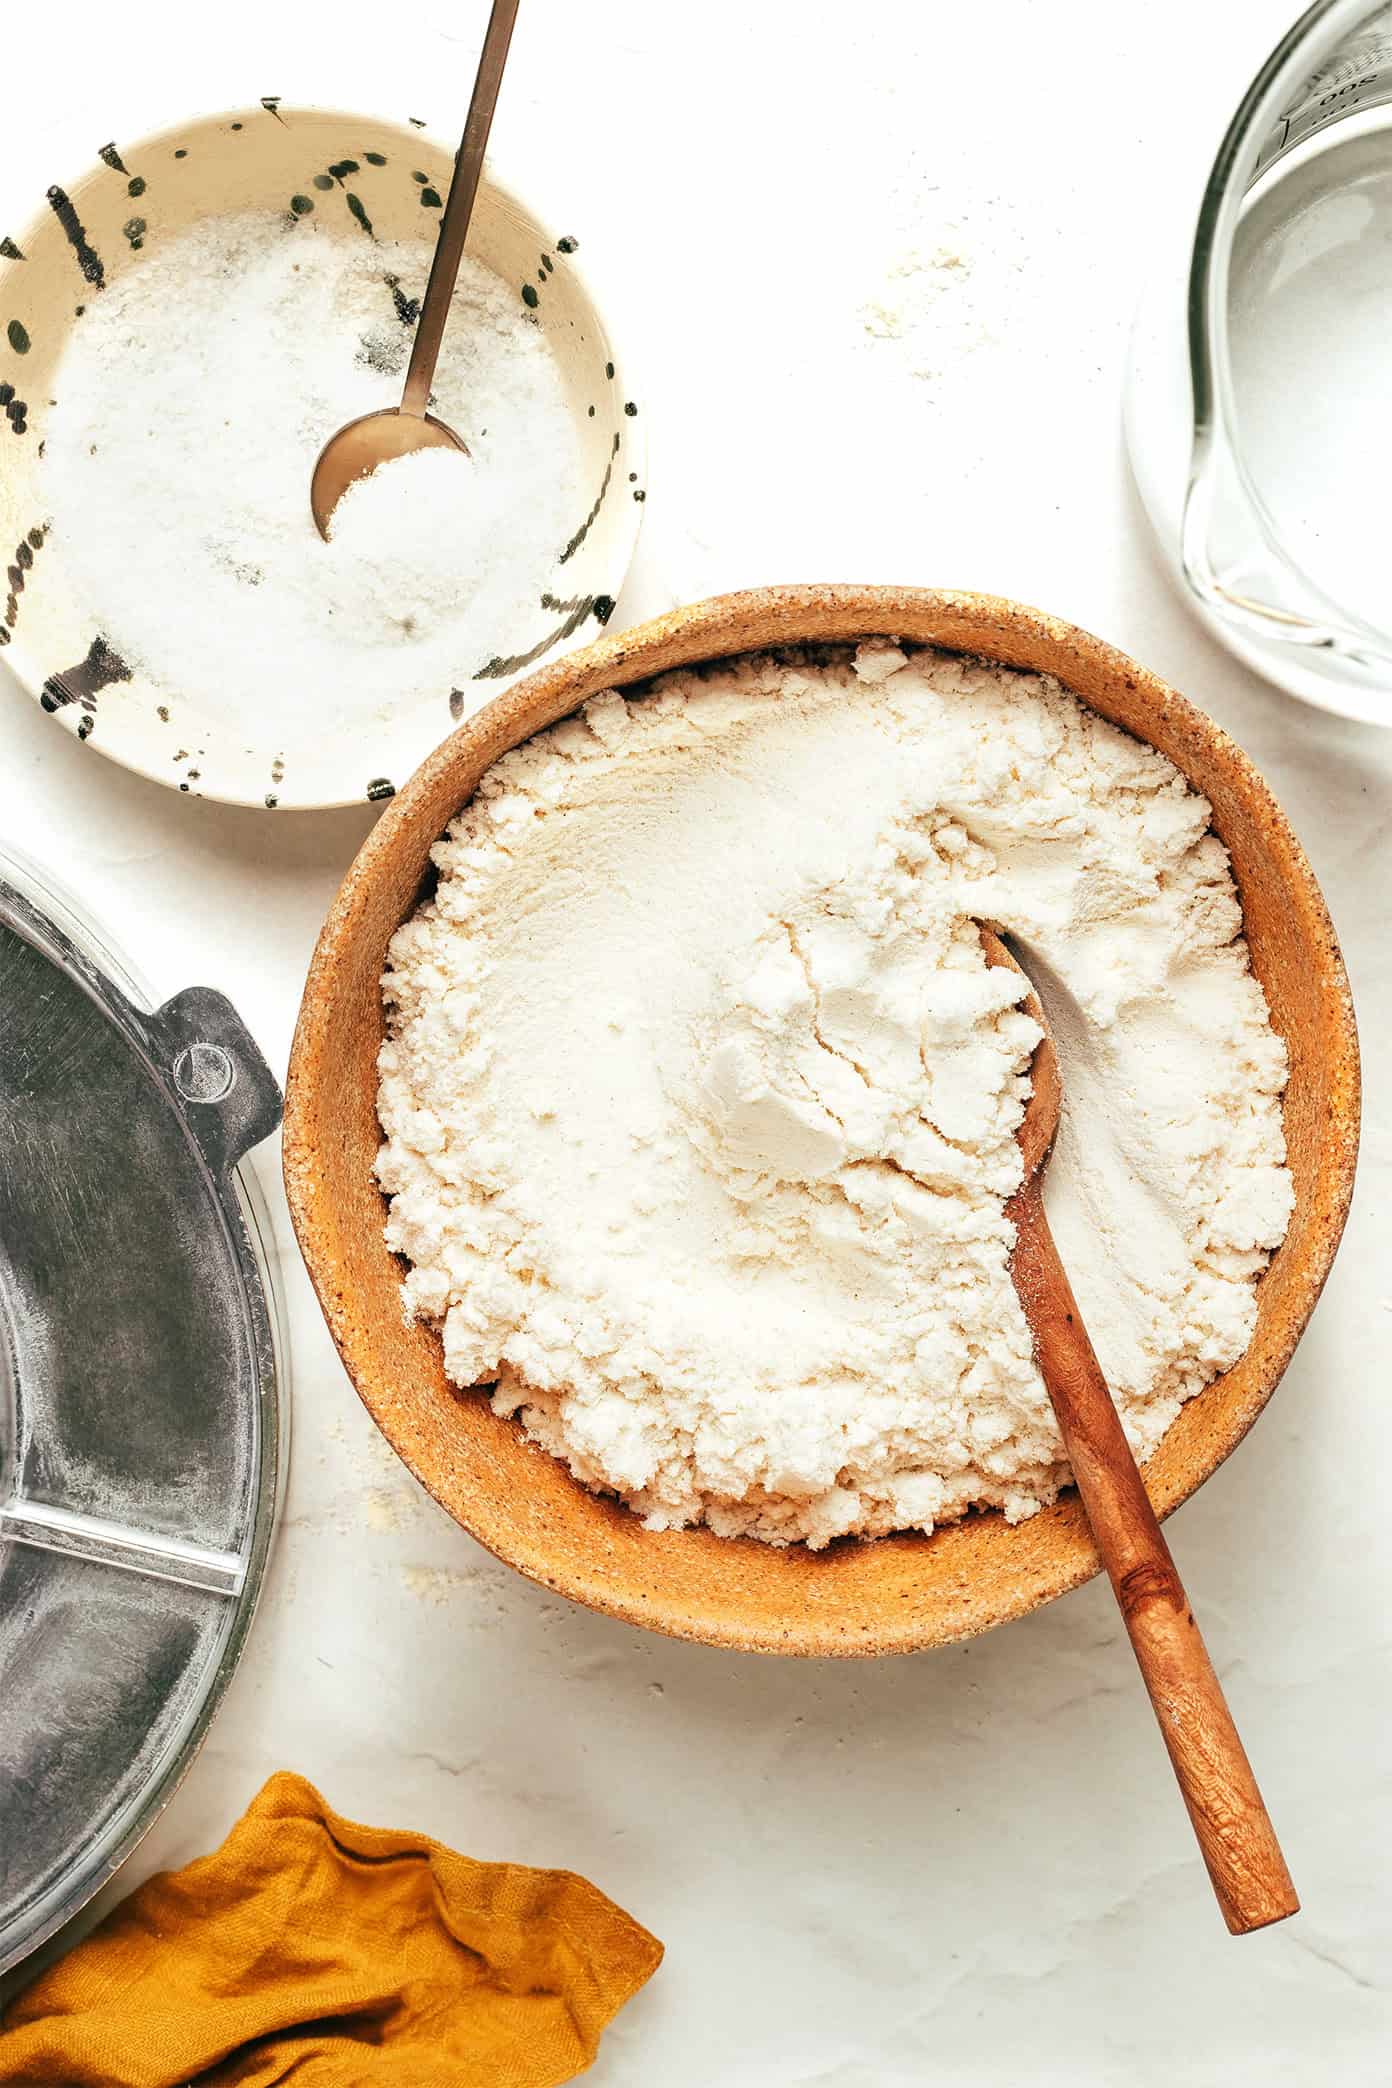
To make homemade tortillas, you will need the following three ingredients (amounts listed in the recipe below):
- Masa harina: Which translates in Spanish to mean “corn flour,” but please note that masa harina is different than cornmeal and American cornflour (which is just finely-ground corn meal). Mexican masa harina is made from nixtamalized corn, so if you peek at the ingredient label, it should always include both corn (maíz) and hydrated lime. Maseca is the most popular brand of Mexican masa harina, available in white, yellow or blue. Or if you are looking for an organic masa marina, I would recommend Bob’s Red Mill. It is typically available either in the Latin American section or the flour/baking section of your local grocery store.
- Hot water: The amount of hot water needed may vary slightly, depending on the brand of masa harina that you use.
- Fine sea salt: To bring out the delicious corn flavor in our corn tortillas. If you are using standard table salt, note that you will need to use slightly less.
The following equipment is also recommended:
- Non-stick skillet, comal or griddle: You will need some sort of non-stick pan to cook the tortillas, so that they do not stick while cooking. I used a seasoned cast-iron skillet, which worked great.
- Tortilla press (optional): I’m always hesitant here to recommend single-use kitchen gadgets. But if you love homemade corn tortillas, a tortilla press is 100% worth the investment. It is super-simple to use and presses the tortillas quickly and evenly. That said, if you do not own a tortilla press, you can also just use a flat-bottomed skillet to press your tortillas between two sheets of plastic (my best alternate recommendation). Or you can use a rolling pin to roll the tortillas out between two sheets of plastic (not quite as easy).
- Tortilla warmer (optional): Also optional but quite handy for keeping your tortillas soft and warm. That said, if you do not own a tortilla warmer (I actually don’t), you can just store the cooked tortillas in a bowl wrapped in a clean kitchen towel.
- Medium (2-tablespoon) cookie scoop (optional): Pro tip!! A medium (2-tablespoon) cookie scoop is the perfect size to easily measure out the proper amount of dough to make standard (5-6 inch) tortillas. Highly recommend. That said, if you do not own a medium cook scoop, you can just use a spoon to eyeball (or weigh) the an approximately 2-tablespoon scoop of dough.
How To Make Corn Tortillas
So here’s the thing about corn tortillas — they are quite easy to make, but it will take a bit of hands-on practice to learn how wet the dough should be, how to press the tortillas, and how quickly they will cook. So if this is your first time making corn tortillas, have a bit of patience with the process, and I promise that you will learn quickly as you go. And of course — the end result will be deliciously worth it! ♡ Here is the basic overview of the recipe instructions (full details in the recipe below):
-
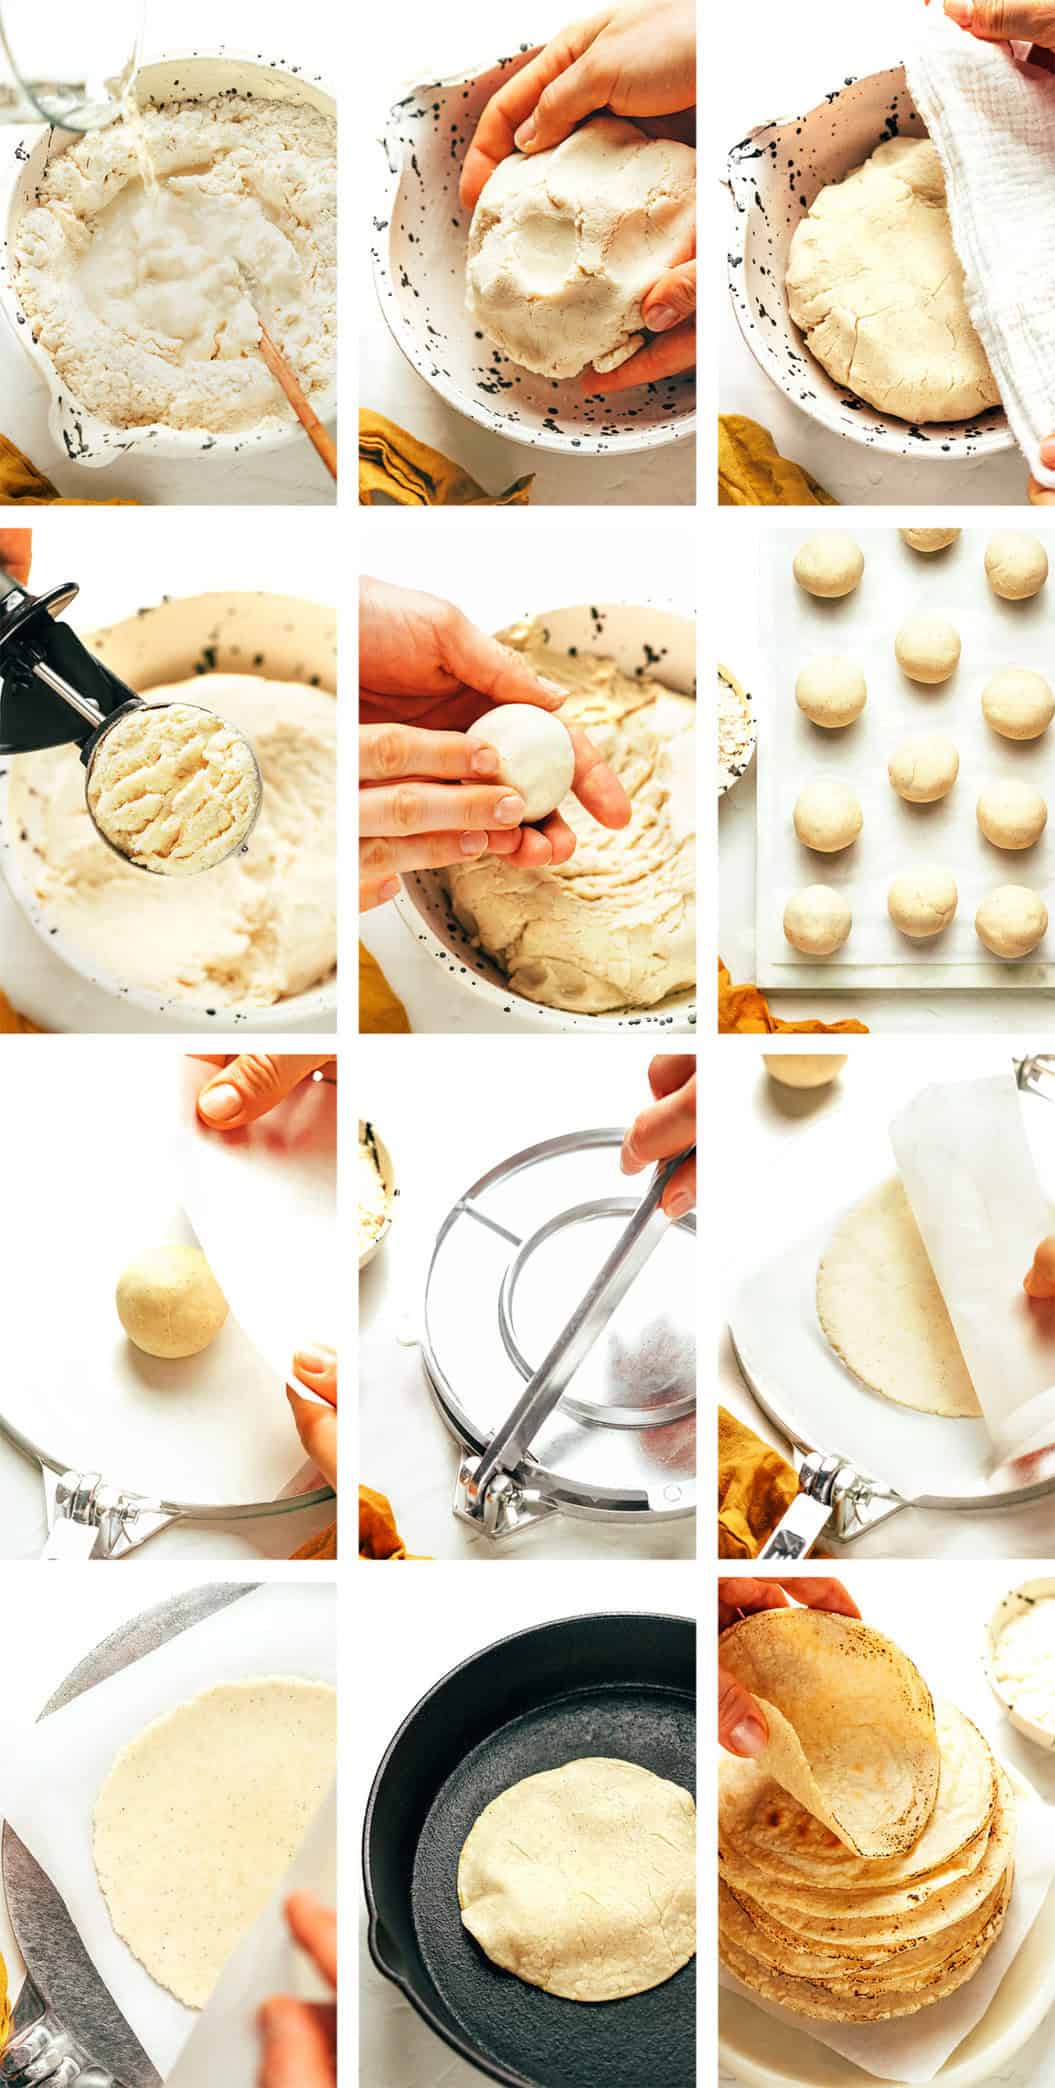
Mix the dough: First things first — mixing the dough! Pull out a big mixing bowl and briefly whisk the masa harina and salt together, then gradually stir in 1.5 cups of the hot water until an evenly-mixed dough begins to form. Use your hands to knead the dough for 2-3 minutes in the mixing bowl (or you can knead it on a floured surface) until it’s smooth and forms a cohesive ball. But pay close attention to the texture — it should feel springy and firm, similar to the texture of Play-Doh. If the dough feels too wet and is sticking to your hands, add in a few extra tablespoons of flour. If it feels too dry and crackly, add in an extra tablespoon or two of hot water.
- Rest the dough. Cover the bowl with the dough with a damp kitchen towel (or paper towel) and let it rest for about 10 minutes.
-
Portion the dough. Then use a medium cookie scoop (my preference!) or a spoon to scoop a 2-tablespoon ball of dough (35-40 grams, or about the size of a golf ball), then use your hands to roll the ball until it is nice and round.
-
Press the dough balls. Place the dough ball between two pieces of plastic in the center of a tortilla press. (I use a ziplock bag; see notes below.) Then gently press the dough ball until it forms a 4- to 5-inch flat tortilla. At this point, I recommend doing a quick texture-check of the tortilla. If it peels away easily from the plastic, it’s good to go! If it’s sticky and does not peel away, your dough is too wet, so I would recommend kneading a bit more flour into the batch of dough before scooping out more dough balls.
-
Cook the tortilla. When your tortilla is ready to go, heat a non-stick skillet or comal over medium-high heat. Once the pan is nice and hot, gently peel the tortilla away from the plastic wrap and lay the tortilla flat in the skillet. Cook the tortilla for about 40-60 seconds per side, flipping it once speckled brown spots begin to appear on the bottom of the tortilla. The tortillas will likely bubble up while cooking, especially on the second side, which is a good sign! Once it is cooked, transfer the tortilla to a tortilla warmer or a bowl wrapped in a clean kitchen towel, so that the tortillas do not dry out.
-
Repeat with the remaining tortillas. I recommend keeping the cycle going by cooking one tortilla while pressing the next dough ball at the same time. If you notice that the skillet begins to seem too hot as time goes on, just turn down the heat a bit.
-
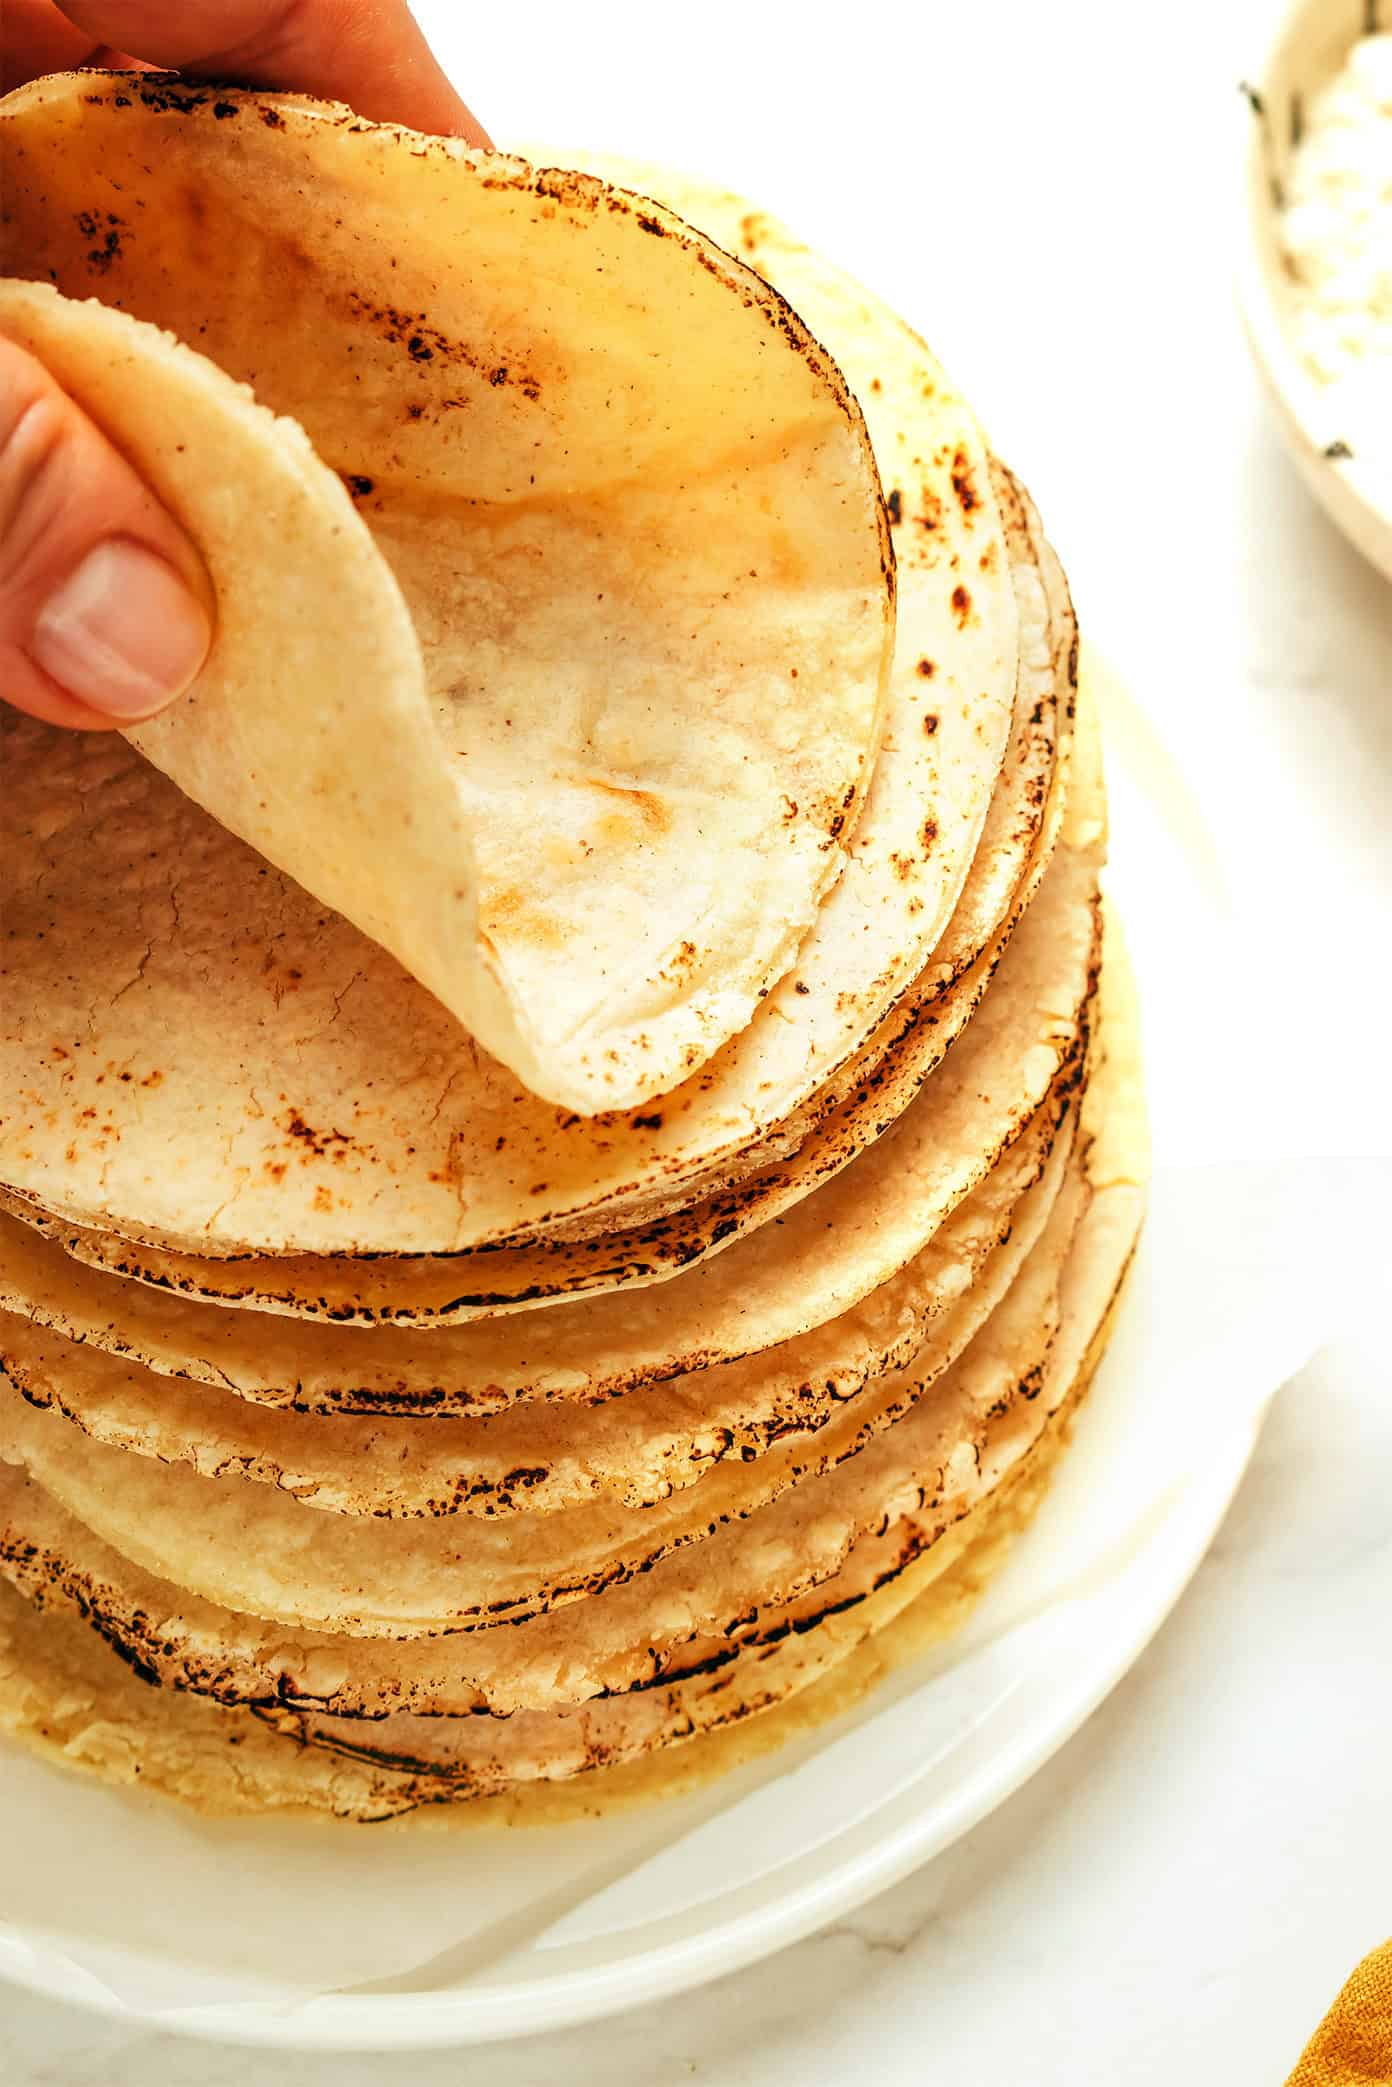
Serve. The tortillas will continue to soften a bit more as they sit in a stack in your tortilla warmer (or wrapped in a towel). So I recommend using the tortillas at the bottom of the stack first — they will be the softest. Serve however you would like and enjoy! :)
Homemade Corn Tortillas FAQ
Are corn tortillas gluten-free and vegan? Yes, this homemade corn tortilla recipe is gluten-free and vegan. But store-bought corn tortillas occasionally include gluten and/or lard, so be sure to always double-check the label.
How to make white, yellow or blue corn tortillas? Just purchase your desired color of masa harina — either white, yellow or blue.
How to reheat corn tortillas? Definitely do not microwave leftover corn tortillas (they will dry out and likely crack when folded) or try to reheat them in oil (they will get crispy). To reheat corn tortillas, either heat a non-stick skillet over medium-high heat, and then cook each tortilla for 15-30 seconds per side until warmed through. Or, if you have a gas burner, you can very carefully use tongs to place the tortillas one at a time directly over the flame. Then as soon as a tortilla start to brown, flip and cook it on the second side until browned, then remove from heat. (Keep an extremely close eye on the tortillas if cooking over a gas stove so that they do not burn.) It’s important to always reheat corn tortillas one at a time, and immediately transfer them to a tortilla warmer or wrap in a clean kitchen towel to store until ready to serve.
How to store corn tortillas? I recommend wrapping leftover corn tortillas in plastic wrap, beeswrap, or storing them in a ziplock bag (with the excess air pressed out) in the refrigerator for up to 2-3 days. You want to avoid letting the tortillas dry out, so try to minimize excess air being trapped into whichever storage option you choose.
How many carbs in a corn tortilla? If you make 15 tortillas with this recipe, each corn tortilla will have approximately 12.5 grams of carbohydrates.
Corn vs flour tortillas — when to use each? Up to you! Flour tortillas are sturdier, and thus are traditionally used for burritos, fajitas, quesadillas, Tex-Mex tacos, Tex-Mex enchiladas, etc. Corn tortillas are traditionally used for Mexican tacos, Mexican enchiladas, flautas, chilaquiles, taquitos, corn tortilla chips, etc. But that said, nowadays many people use corn and flour tortillas interchangeably, so feel free to use them however you prefer.

Ways To Use Corn Tortillas
Here are a few of my favorite ways to use corn tortillas!
- Tacos: Load corn tortillas up with your favorite taco fillings.
- Tostadas: Toast or fry the corn tortillas then serve them (flat) with your favorite toppings.
- Enchiladas: Soak corn tortillas in red or green sauce, fill with your favorite enchilada fillings, then roll them up, top with extra sauce, and bake to make enchiladas.
- Corn tortilla chips: Cut the corn tortillas into triangles, deep fry in oil (or bake), then sprinkle with salt.
- Chilaquiles: Make corn tortilla chips (above), then cook in your favorite red or green sauce with eggs.
- Nachos: Make corn tortilla chips (above), then load up with your favorite nacho cheese and toppings.
Homemade Corn Tortillas
Ingredients
- 2 cups (240 grams) masa harina
- 1 1/2 to 1 2/3 cups hot water*
- 3/4 teaspoon fine sea salt
Instructions
- Mix the dough: In a large mixing bowl, briefly whisk together masa harina and salt. Gradually add 1 1/2 cups hot water, and stir the mixture with a wooden spoon or silicone spatula until an evenly-mixed dough begins to form. Use your hands to knead the dough for 2-3 minutes in the mixing bowl until it is smooth and forms a cohesive ball. The dough's texture should feel springy and firm, similar to Play-Doh. If the dough feels too wet and is sticking to your hands, add in a few extra tablespoons of flour. If it feels too dry and crackly, add in an extra tablespoon or two of hot water.
- Rest the dough. Cover the bowl with a damp kitchen towel (or paper towel) and let the dough rest for 10 minutes.
- Portion the dough. Use a spoon or a medium ice cream scoop to portion the dough into a 2-tablespoon ball (35-40 grams, or about the size of a golf ball), then use your hands to roll the ball until it is nice and round.
- Press the dough balls. Place the dough ball between two pieces of plastic in a tortilla press. (I use a ziplock bag; see notes below.) Then gently press the dough ball until it forms a 4- to 5-inch tortilla.
- Cook the tortilla. Heat a non-stick skillet or comal over medium-high heat. Once the pan is nice and hot, gently peel the tortilla away from the plastic wrap and lay the tortilla flat in the skillet. Cook the tortilla for about 40-60 seconds per side, flipping it once speckled brown spots begin to appear on the bottom of the tortilla. The tortillas will likely bubble up while cooking, especially on the second side, which is a good sign! Once it is cooked, transfer the tortilla to a tortilla warmer or a bowl wrapped in a clean kitchen towel, so that the tortillas do not dry out.
- Repeat with the remaining tortillas. I recommend keeping the cycle going by cooking one tortilla while pressing the next dough ball at the same time. If you notice that the skillet begins to seem too hot, just turn down the heat a bit.
- Serve. The tortillas will continue to soften a bit more as they sit in a stack in your tortilla warmer (or wrapped in a towel). So I recommend using the tortillas at the bottom of the stack first -- they will be the softest. Serve however you would like and enjoy! See storage instructions below.

This looks easy enough. I will try it over this weekend. I’m really looking forward to it, I’ll be back to let you know how it went.
These tortillas were so easy to make! You can tell a great recipe when it is successful the first time! We will definitely invest in a press. Using the bottom of a cast iron was fine, but we couldn’t get them thin enough and all of our cast iron skillets have a design/logo on the bottom.
In summary, the tortillas were soft, delicious and easy to make. We may never buy tortillas again. For us, the recipe made 18.
Just made tortillas for the first time ever with this recipe and they turned out great! I don’t have a tortilla press so I squished the dough on the counter with a book, then used a rolling pin to roll out a little more. I did this between two pieces of parchment paper and it worked great.
Great tips. I got a cast iron tortilla press as a bday present and made my first batch yesterday. I learned that getting the hydration right is key, just as for pasta. I found the dough stuck to the plastic, but using parchment worked better for me. Perhaps because it wicked just a little moisture. Also after I peeled the top parchment piece off, I took them right to the pan on the parchment, then peeled it off after it had a few seconds to set up on the heat. Also I could stack up my uncooked rounds on the parchment squares and keep pressing. Dipping the slightly flattened dough balls in a little dry masa harina, or even corn starch, just around what would be the edges, also helped. Would have given up after the first three but kept going and I think we have it down!
I have not tried this recipe yet. I will get the Masa Harina next trip to grocery. I am wondering if being at high altitude would impact it. If I get no reply I will post another review with my results.
These came out fabulous. Super easy, love the tips. My first time making, they came out better than my husbands.
Is there a reason why you wouldn’t roll the tortilla between 2 pieces of parchment (vs plastic wrap as you suggested which would, as you say, be messy)?
Can the dough be made ahead of time and stored in the fridge for a couple days before using? Would love to prep these for a weeknight meal.
This is a terrific recipe! I made these for the first time in my life and they turned out perfectly. Thank you for the clear instructions and reference to play dough. I know it well and I was able to compare the masa dough to it. Absolutely wonderful! Thanks so much, Terri
I’ve made this recipe a few times now and they always turn out great! I make play dough regularly with my little ones so that was a perfect reference for me. I just made a double batch and will form the balls and freeze half to thaw and use at another time when I want them fresh. I hope it works! Thanks for the recipe!!
Recipe and instructions are great and well written, my first batch came out great. Only got 6 so I think I made them a little thick but great none the less.
Question, do you reuse the plastic bags?
I can’t justify using 2 bags each time especially if I make a small batch. They did work perfectly but I might do parchment next time.
I’ve reused my plastic bags a few times before needing to swap with a fresh one. The sturdy ones hold up.