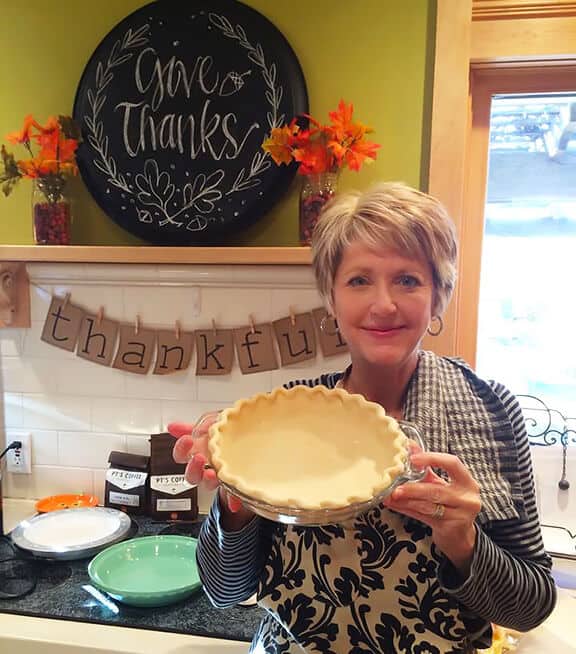
Greetings from Wichita! I’m back in my hometown this weekend, celebrating the holidays with my family. And we kicked things off yesterday with a mega baking day and made four pies. So much pie!!!
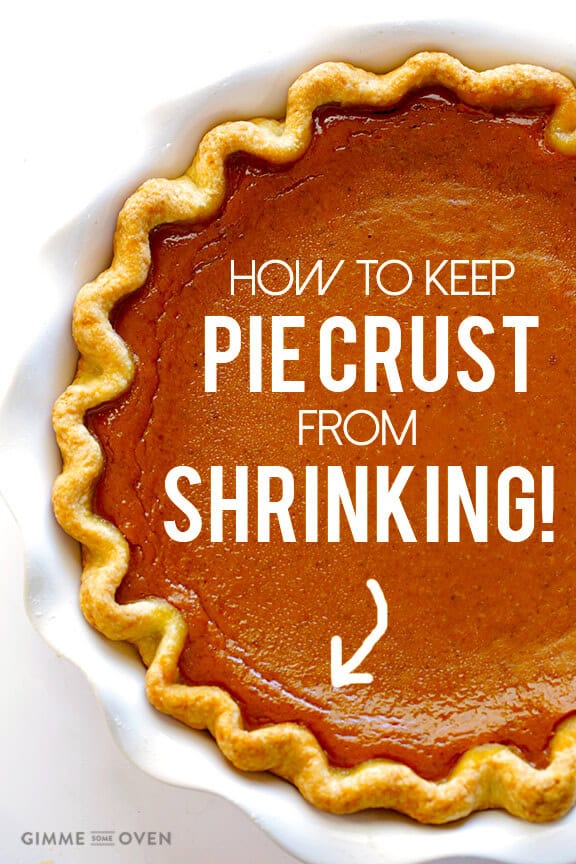
While whipping up 6 batches of my favorite homemade butter pie crust recipe, we did end up having quite a few conversations about pie crusts and how they work and why they so often shrink. And after receiving questions from some of you about the same topic, I thought I’d pop in with a quick list of tips to prevent your pie crusts from shrinking. Because after you go to all of that work to make them homemade, and then shape and crimp and lattice them to look pretty in the pan, who wants them to shrink?!?
Not this pie lover.
So without further ado, here are 7 quick tips to keep pie crust from shrinking. If you have more of your own, be sure to share them in the comments below!
1. Don’t forget to give pie crust time to “rest”
Probably the main reason that pie crusts shrink is because the dough is not given adequate time to “rest”. This resting time allows the gluten to literally relax at critical points in the pie dough process, and will play a big role in preventing shrinking once it is baked. There are 3 main times that the pie crust needs to rest:
- After mixing the dough: Once you have mixed the dough and shape it into a flat disk, wrap the dough in plastic wrap and place it in the refrigerator to rest until chilled, about 30 minutes.
- After rolling out the dough: Once you have rolled out the dough, let it rest for about 5 minutes before draping it into your pie plate.
- After adding the filling (optional): This is the least important time. But if you have an extra 10 minutes to spare, refrigerate the pie crust once more after adding the filling before you place it in the oven.
2. Poke holes and use pie weights in the bottom of the crust if pre-baking
When pre-baking (or “blind-baking”) a crust before it is filled, it’s super important that you literally weight the crust down with pie weights so that it will stay in place and not “slip” down into the crust. I actually don’t own any real pie weights, so I usually just gently line the pie crust with aluminum foil and then fill it with dried beans, which are a great and inexpensive alternative.
Before you weight the crust, though, use a fork to poke holes in the bottom of the crust. This will also keep the bottom from bubbling up. (And don’t worry — the crust will expand to fill the holes while baking.)
3. Avoid glass pans if possible
Glass pans are much more slippery than their metal or ceramic counterparts. They are perfect for graham cracker crusts and other crusts that do not require baking. But if possible, I recommend using metal or ceramic pie plates when baking pies with butter pie crusts.
4. Don’t overwork the dough
This is always, always, always a big rule of thumb when making pie crusts. (Especially if you use a food processor!) Try hard to only mix the dough as much as needed to get it to stick together. It’s ok if there are still a few tiny chunks of butter or fat visible. You just want to avoid overworking the dough as this causes it to get overly firm and also shrink.
5. Don’t stretch the dough to fit the pie pan
Rule of thumb: if you stretch the dough, it will stretch back while baking. So when you roll out the dough, be sure that it is large enough to drape into your pie plate and cover it without stretching.
6. Leave a little room around the edges
Following #5, I always recommend that people make their pie crusts slightly larger than you hope that they will look when baked. As in, give an extra 1/2-inch of so around the edge of the pie plate so that it has room to shrink very slightly while baking. You don’t want to make the crust too big. Just give it a tiny bit of extra wiggle room.
7. Use low baking temperatures if possible
Higher temperatures make the gluten in pie crusts tighten up and shrink a bit. So if your recipe requires pre-baking the pie crust, it will shrink less if you bake it “low and slow” (around 350 degrees F). But if you have a recipe that requires high temperatures, I wouldn’t worry. Just apply these other tips and they will help minimize the shrinking.
For more tips on pie crusts, be sure to check out my recipe and photo tutorial for How To Make A Pie Crust, and also be sure to check out some of my favorite pie recipes on the site!
What tips to you have for preventing pie crusts from shrinking?

Just made my first homemade pie crust last night. It turned out great, but it definitely shrunk a bit, so I was happy to find your post this morning! Of course I’ll have to try again this week, and I’m sure my hubby will not be protesting one bit. I think my culprits are not resting after rolling and stretching the crust slightly in the pan. We shall see!
Hi Tessa! We hope this helps next time you give it a go! Pie crust can be so temperamental. Definitely let us know how it turns out next time! :)
just made a pie that shrank to about half its intended size (maybe a slight exaggeration)…I googled ‘how to keep my pie crust from shrinking’ and here I am! This is wonderful! thank you…
Oh no! We’ve totally been there before and know how frustrating that is, ugh! But we’re glad it at least led you here, and we hope these tips help! :)
I did the same thing as was in a hurry and didn’t put back in fridge to text. Made one in glass pie late with fluted edges and one in a metal pie plate. The one in the metal pie plate shrank almost to bottom of the flute. Sometimes mine turn out good and other times not so good. Will try and plan ahead next time to give it resting time and also turn oven to 350 instead of 375.
My pie crusts always shrink around the edges. I learned from you that letting the crust rest before baking, as well as baking at 350 instead of 375. If you use convection, what are the pros and cons. I have been baking at 375 for 15 min then taking the parchment paper and beans out and then back in for 10 min. I like to do the thumb print on the pastry around the edges before I bake it. I’m always worried about the appearance especially if shrinking has made the edge uneven.
Thanks for sharing James!
Bake your pie crust upside down
I always use tinfoil pie dishes.
Follow all resting rules, but instead of weights I just put one pan on top of the pie crust and bake it upside down. Remove the top pie dish half way through cooking. Finish baking it upside down. Prior to baking punch holes in pie crust to keep the bottom flat.
I thought about placing the pie plate on a cookie sheet but there was no mention so I went ahead and had a complete mess with pieces of dough allover the oven. It does sound like an easy fix – maybe I just need more details. Anybody>
Helen – can you explain this again? Do you bake it upside down the entire time? Never heard of this technique.
these are great! I never knew about the glass pans,I think that’s all I have, I’ve never had to buy pie pans, I honestly don’t know how I got them all, i have at least 6, which don’t usually need more than 2 lol.
I’ve always used rice in place of pie weights, I have a little jar of it I keep sitting above my stove, I use it and then pour back into the jar
Such great tips! Definitely never followed all of these steps.
Wonderful article once again. However, I have one small question :) Do you think 30 minutes are enough for the dough to rest after mixing? My mom used to leave it in the fridge overnight and it was always huge in the morning. Can you advise me which is better?
Thank you
Your mom is SO cute!!!! You also look a ton alike, I’m sure you’ve never heard that one before. ;) This is seriously awesome for the baking newb like me. The glass pan thing is my next change!!
Brilliant article and Happy Thanksgiving!
These are great tips! I always get upset if my pie crust shrinks so I will most certainly have to save this for when I do my baking! Happy Thanksgiving!