Butternut Squash Made Simple

If you’ve ever wrestled with a difficult squash before, you know the struggle — tough skin, tricky curves, and a lot of effort just to get to the good stuff. But don’t worry, there’s an easier way! Once you learn this simple, safe technique, you’ll be able to peel, seed, and dice a butternut squash with confidence and ease. It’s one of those small kitchen skills that saves time, prevents waste, and makes cozy fall cooking so much more enjoyable.
Butternut squash is such a seasonal favorite — naturally sweet, nutty, and delicious roasted, puréed, or simmered into soups and stews. It’s also brimming with nutrients like beta-carotene (which your body converts into vitamin A), vitamin C, potassium, and fiber, making it as nourishing as it is comforting.
I’ve included tips below for how to choose the best squash at the store, how to store it once it’s cut, and delicious ways to cook with it. And if you’d like to see the full step-by-step method, be sure to scroll all the way down to the recipe box for the video tutorial too!

How To Choose The Best Butternut Squash
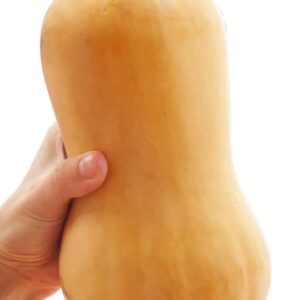
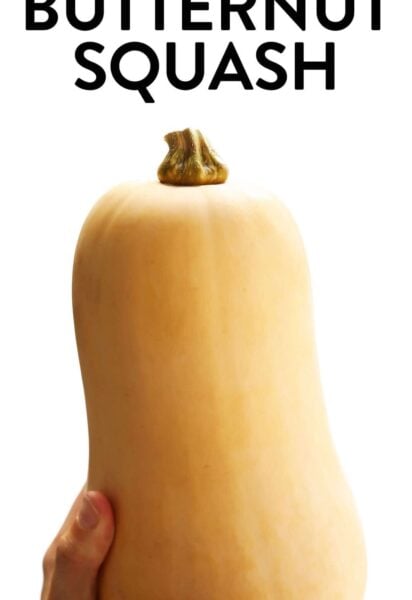
When shopping for butternut squash, look for ones that feel heavy for their size and have smooth, matte skin without any green streaks or soft spots. The color should be an even, pale beige — not shiny or patchy — and the stem should be firm and intact.
Butternut squash is in season from early fall through winter (typically September through February), when it’s at its sweetest and most flavorful. If you’re buying in the off-season, choose squash with thicker necks and smaller bulbs for a higher flesh-to-seed ratio.
Fun Fact 🎃
The word “butternut” isn’t just about the color — it comes from the squash’s creamy, buttery texture and naturally nutty flavor once cooked!
Storage Instructions
Whole butternut squash can be stored in a cool, dark pantry for up to 1–2 months. Once cut, store the peeled and diced pieces in an airtight container in the fridge for 3–5 days. To freeze, spread the diced squash on a parchment-lined baking sheet, freeze until solid, and transfer to a freezer-safe bag for up to 3 months.
Frozen squash is best for roasting or soups, since the texture softens slightly after thawing.
FAQ
Use a sharp vegetable peeler or Y-peeler. A quick 30- to 60-second zap in the microwave can help soften the skin if it’s extra tough.
You can! The skin becomes tender when roasted and is completely edible. If you prefer a smoother texture (like for soups or mashes), peel it first.
Yes! Butternut squash seeds are completely edible and actually quite nutritious (similar to pumpkin seeds). You can rinse and dry them, then toss with a drizzle of oil and your favorite seasonings before roasting in the oven until golden and crispy. They make a delicious snack or crunchy topping for soups and salads.
Favorite Recipes with Butternut Squash
Here are a few Gimme Some Oven favorites that feature butternut squash:
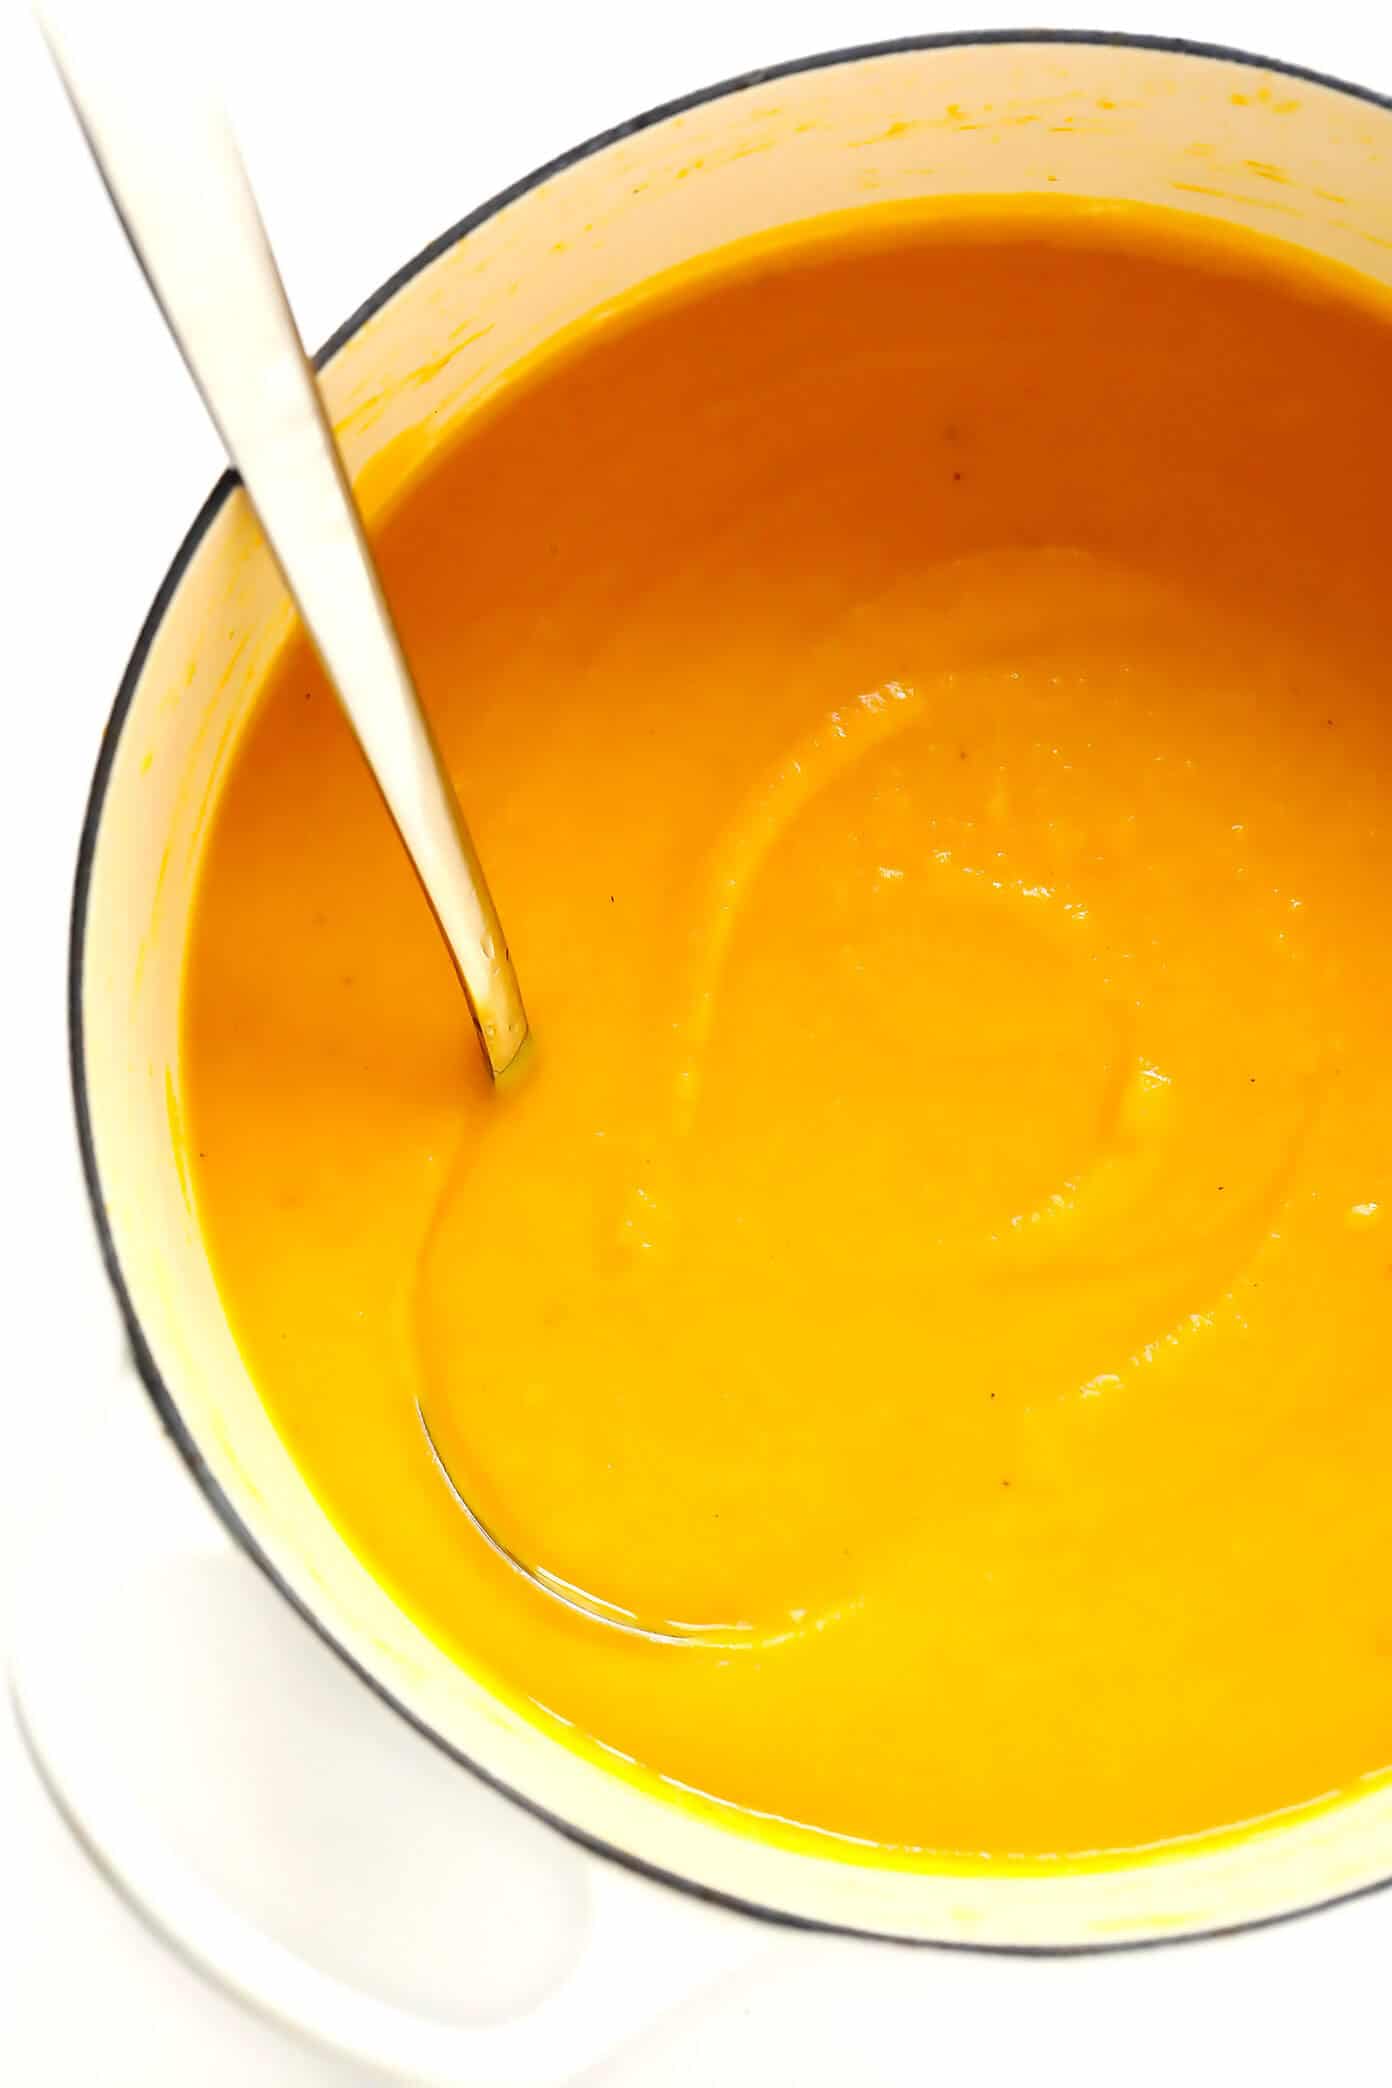
- Butternut Squash Soup
- Butternut Squash Mac and Cheese
- Butternut Squash Muffins
- Gnocchi with Butternut Squash and Sage Brown Butter Sauce
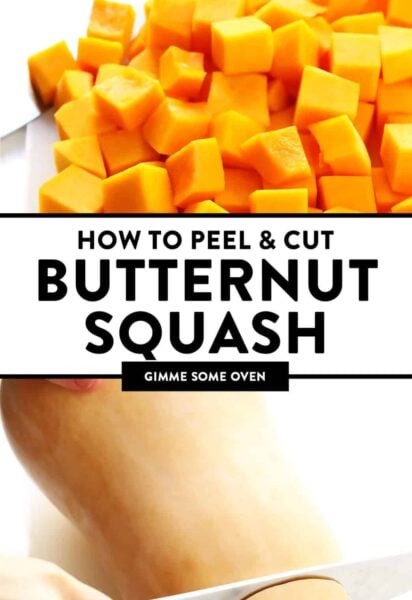
How To Cut Butternut Squash
Video
Ingredients
- 1 butternut squash
Instructions
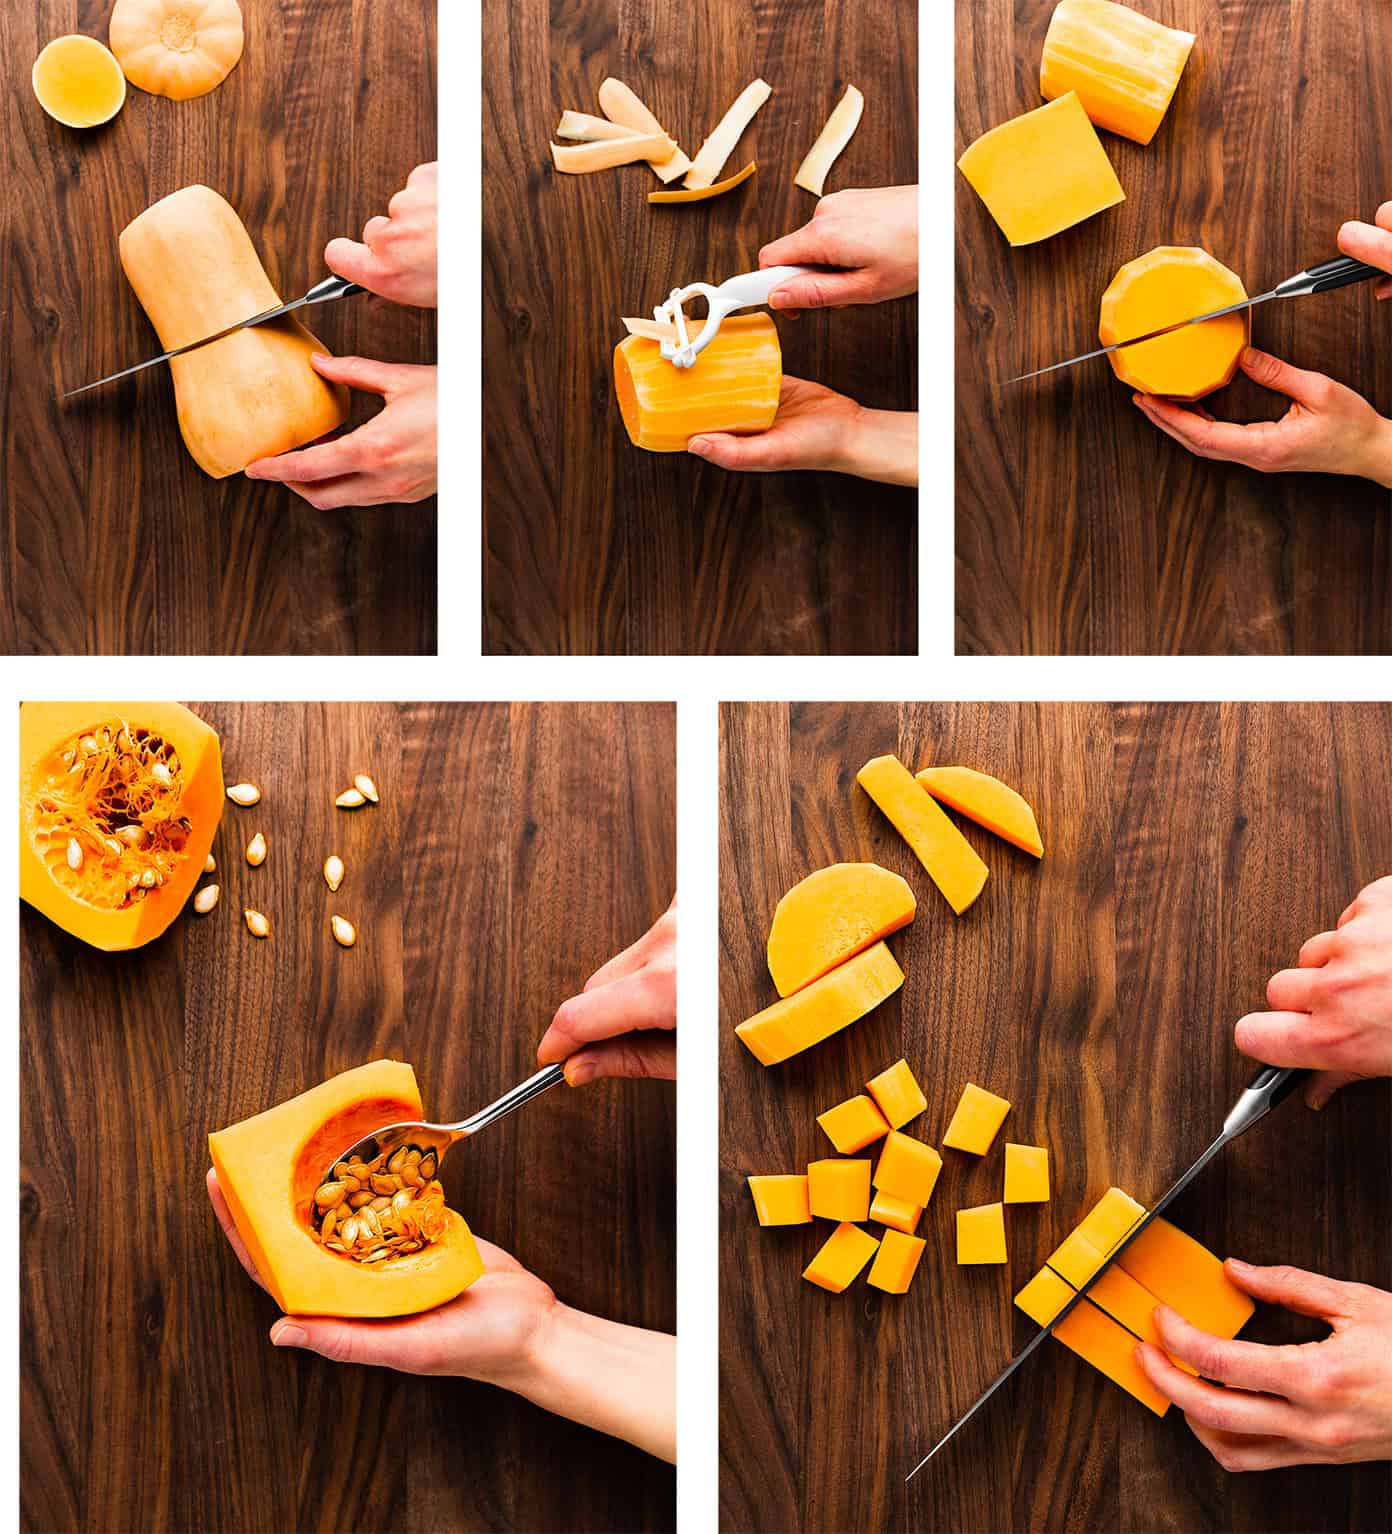
- Trim the ends. Lay the squash on its side and carefully slice off both the top and bottom ends to create flat surfaces.
- Peel the squash. Use a sharp vegetable peeler or Y-peeler to remove the tough outer skin, working from top to bottom.
- Separate the neck and bulb. Cut the squash crosswise where the long neck meets the round bulb.
- Halve and seed. Stand each piece upright and carefully cut down the middle to expose the seeds. Use a spoon to scoop out the seeds and discard (or save them for roasting!).
- Slice into planks. Lay each squash half cut-side down and slice into even planks about ½ inch thick.
- Cut into strips. Stack a few planks together and slice lengthwise into uniform strips.
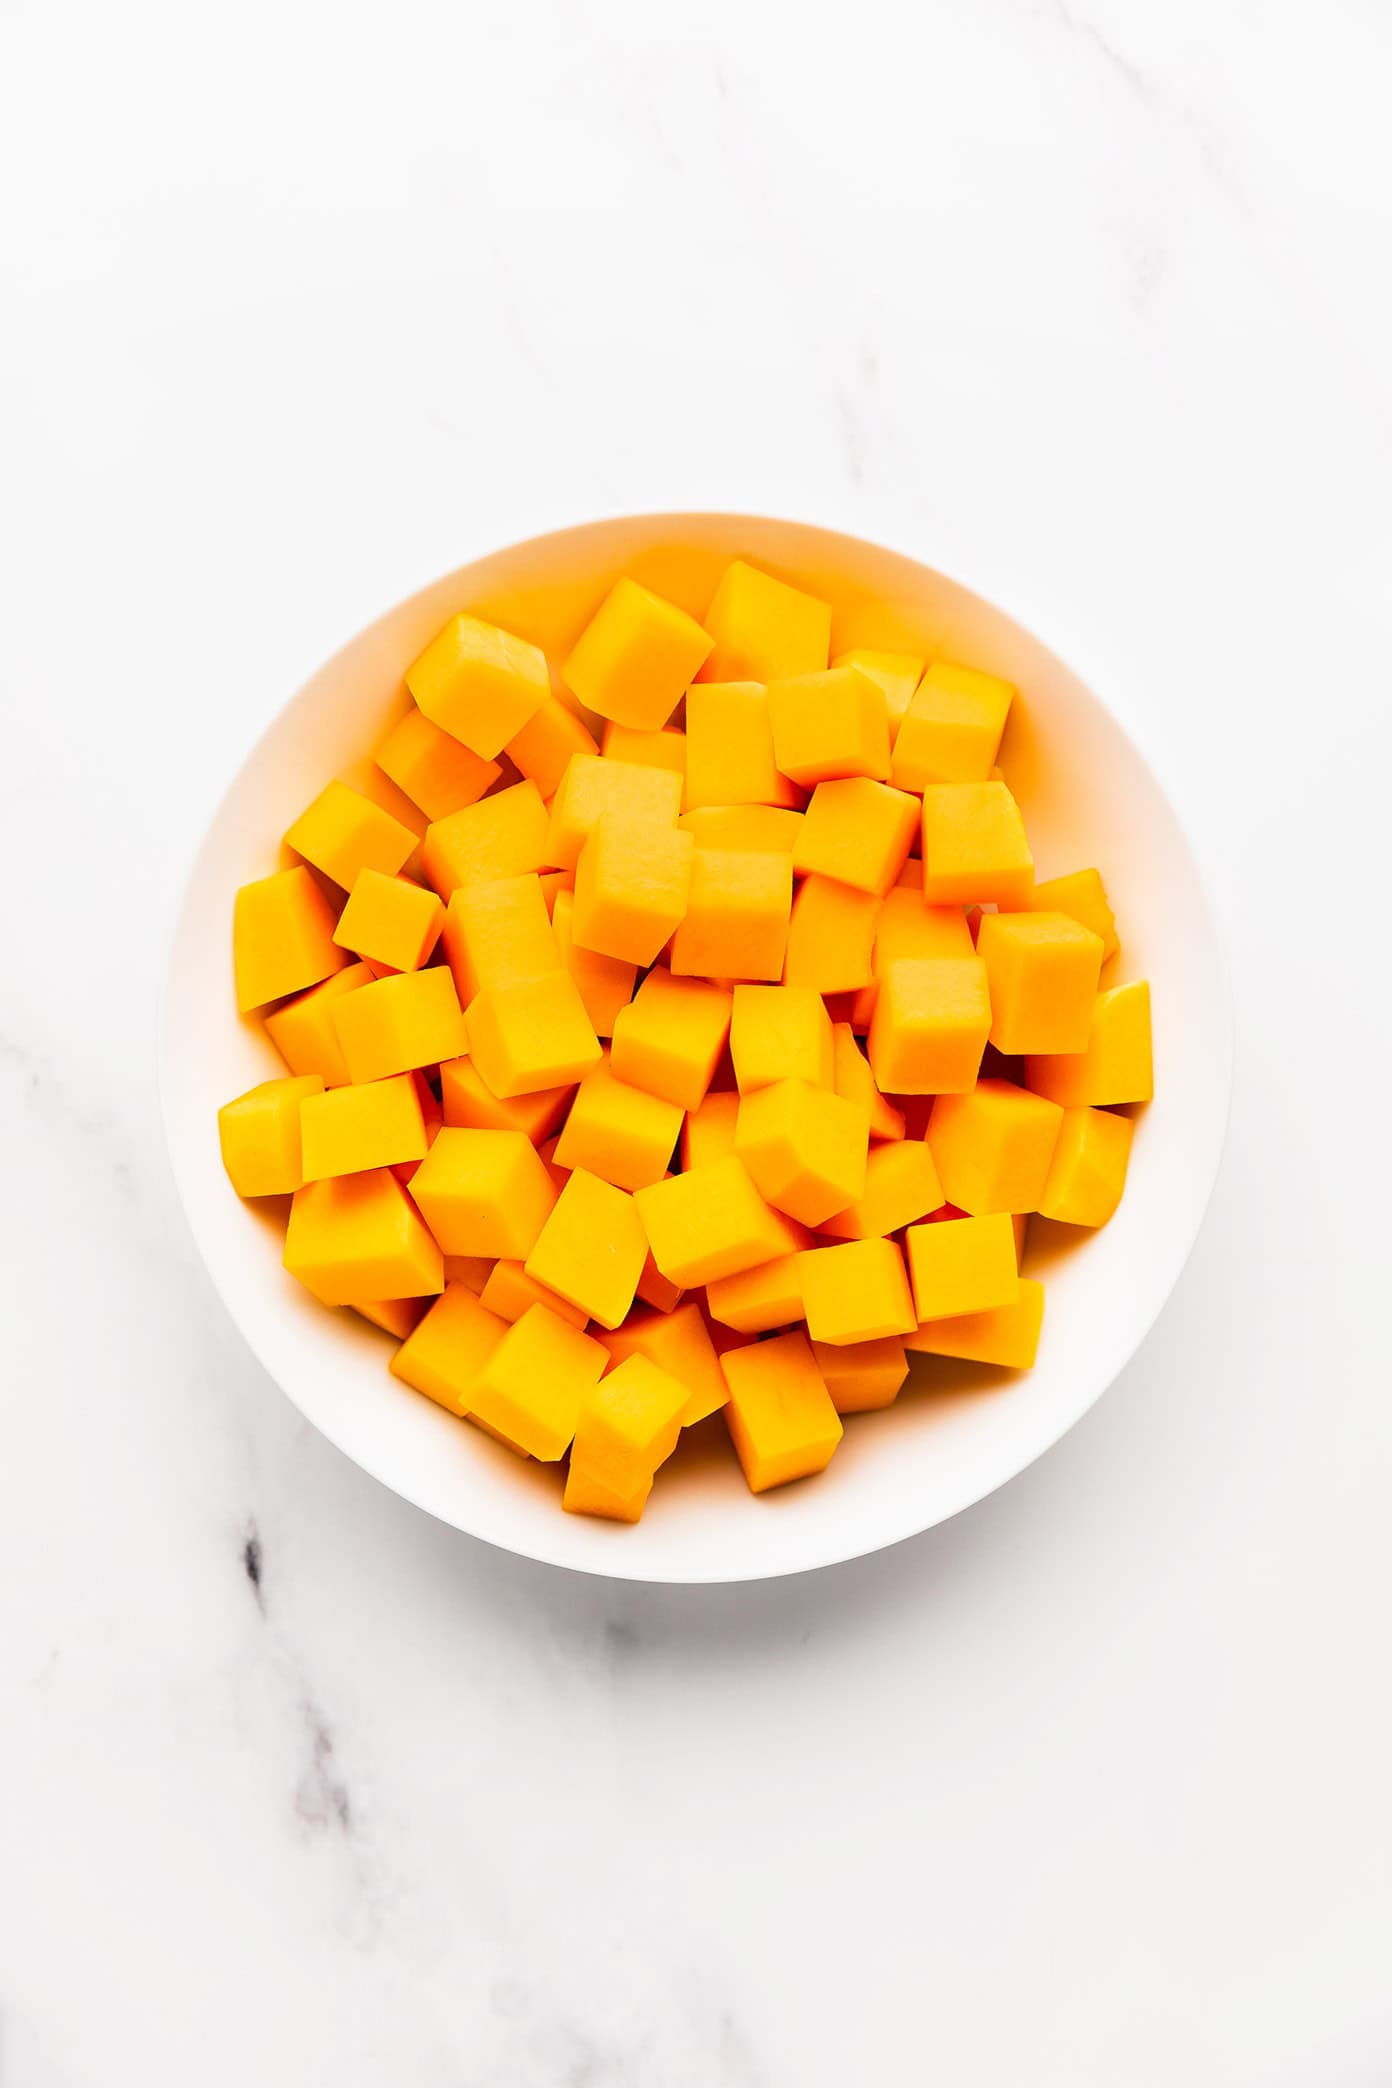
- Dice into cubes. Turn the strips crosswise and cut into even cubes, about ½ inch in size or smaller if desired.
I know I’m the odd one out here, but I actually LOVE cutting butternut squash. It’s a little time-consuming compared with some other vegetables, but the way you can cut absolutely perfect, beautiful little orange cubes is incredibly satisfying. The perfectionist / aesthetic-obsessor in me geeks out every time.
Just want to add a little thing I learned! There’s an enzyme that the peel releases as a defense mechanism, and the enzyme can cause contact dermatitis in some people (like me). My entire hands peeled after I peeled the squash!
I now wear gloves…or I get help (which is why this video is even more fantastic)
Oh wow, I’ve never heard about that! Thank you so much for letting us know. (And I hope your hands are doing better!) :)
Awesome… Was given a butternut squash and had not the slightest idea how to cut or cook it… Thank you sooo much… And good eating to you and yours
Glad to see how you peel a butternut. I’ve peeled and cut butternuts all my life and only in early 2016 did I start using a vegetable peeler. Wish I’d been doing that decades ago – would have saved time and effort. In Australia we call them butternut pumpkins, not squash. Have you tried pumpkin scones? They are a classic Australian recipe, great to have with a cup of tea. Here is a recipe: https://www.foodtolove.com.au/recipes/pumpkin-scones-18023 from a beloved Australian women’s magazine. If you want to try it you might need to know that in Australia we use slightly different cup and spoon sizes in cooking. Here is a conversion chart: https://www.gfcfcooking.com.au/conversion.html#vol and some of our cooking terminology is slightly different too. We use very similar terms to the British ones. I’m new to your site but enjoying your ideas and recipes very much.
Thanks for sharing with us, Peta, the pumpkin scones sound/look delicious!
Great post..and timely too as I have my first butternut squash waiting in the pantry. Now I’ll know how to process it.
This is brilliant Ali! I’m loving the idea of these tutorials.
Please do a tutorial on how to use the pasta maker – we love fresh pasta. Great new series!
I gotta say I don’t like prepping the squash at all! But you make it look sooo easy! :) I agree with you that a sharp knife is pretty important here.
Would love to see how to best cut a turnip……those large waxed veggies also called a rutabaga. Thanks!!
Love this new series! Would love to see a tutorial on pomegranates – I just can’t figure those out and I end up being wasteful. Thanks!